A post in which I show my crazy & off beat sense of humor.
Also, a post in which quite possibly the Red SOLO cups become rather jealous. Because they’re used to be the #1 plastic cup of choice.
But not anymore!
I mean, there is a song about the Red SOLO cup. So the cup itself has reached celebrity status.
People have many memories that are wrapped around a Red SOLO cup. And just so we’re clear – it is perfectly fine if you want to drink out of a Red SOLO cup.
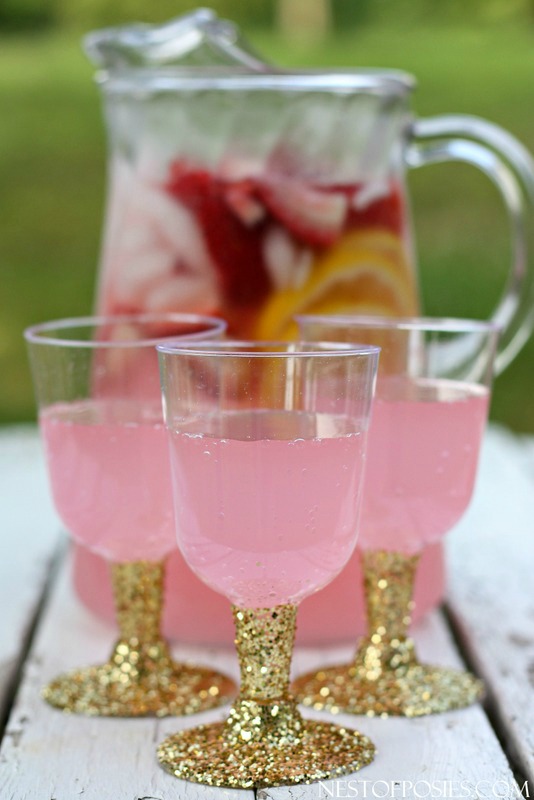
But for me, I would much rather drink out of a Glitter Party Cup than a Red SOLO cup.
After all, these Glitter Party Cups would coordinate much better with my party outfits. 😉
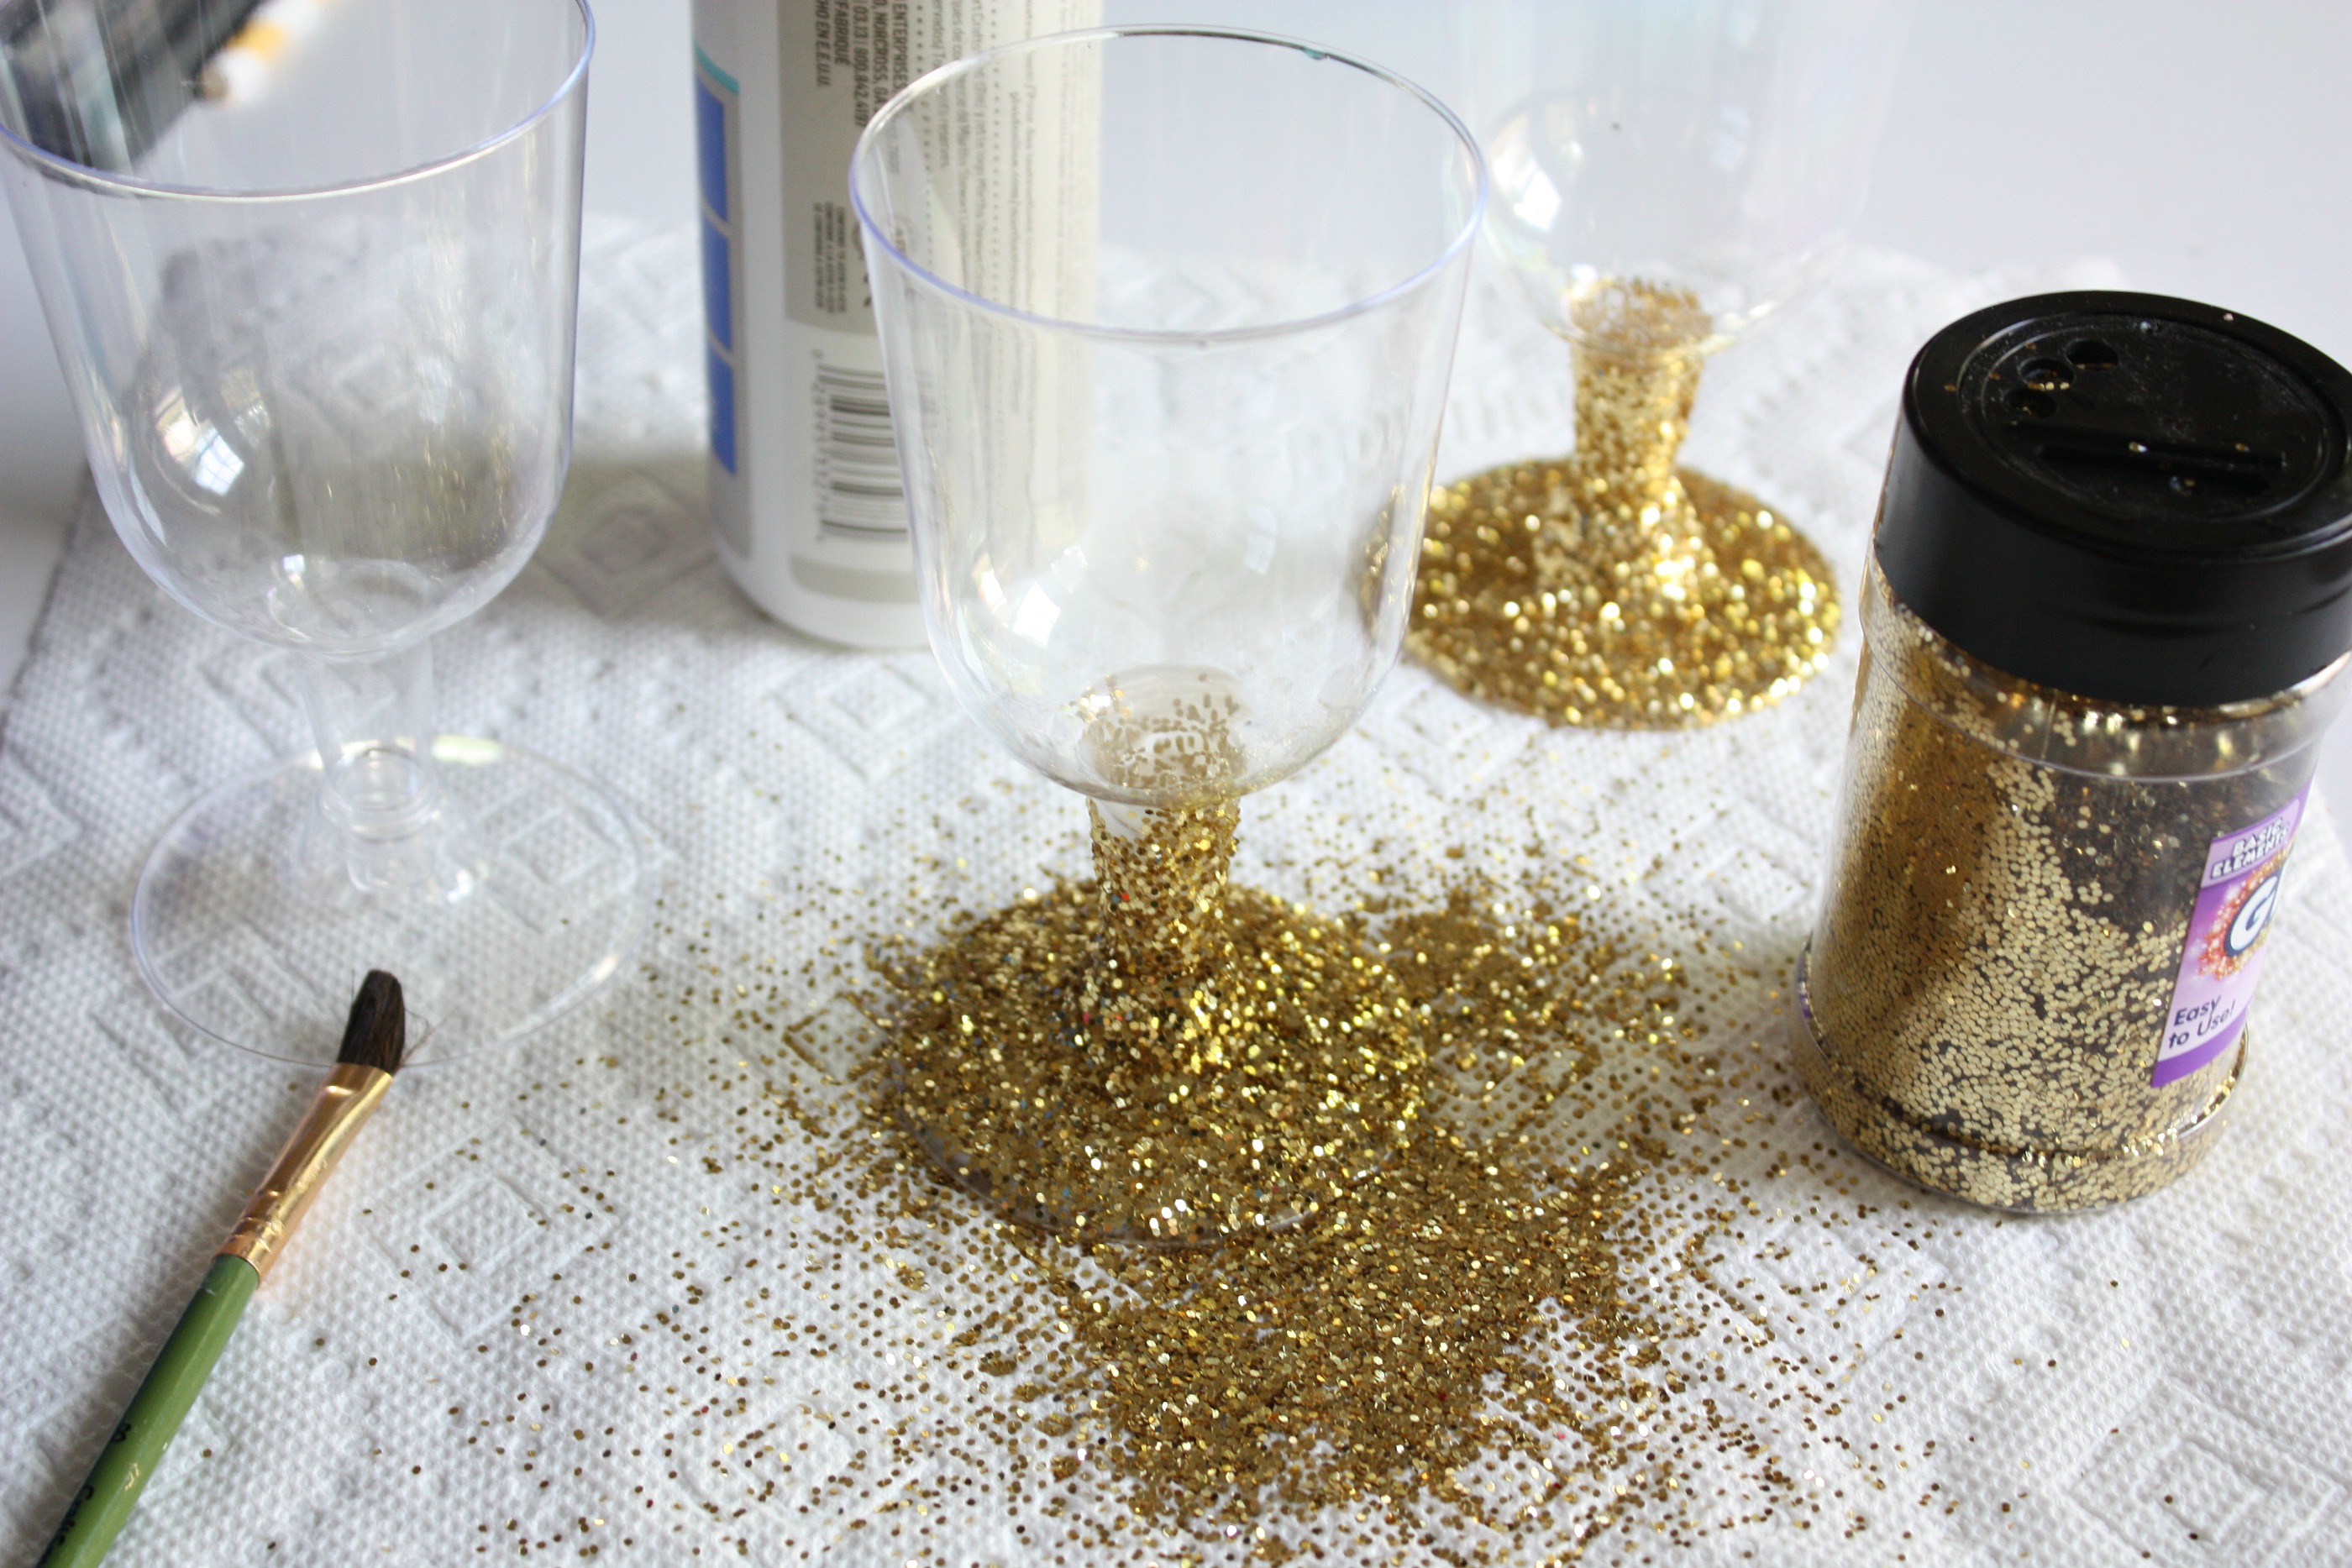
Whether you’re hosting a party, or have had a day that requires a lot of glitter (because some days require glitter!) – these DIY Glitter Party Cups can be created for mere pennies! They’re from the Dollar Tree! In fact I found online that you can purchase the plastic wine glasses in bulk from the Dollar Tree! Which is perfect is you’re throwing a Bridal Shower, Wedding Reception or are just throwing a party just because!
There’s basically 3 steps in this process, and trust me it can be done in a matter of seconds. – And I promise, I am not just saying that – just to say it. Seconds, I tell you!
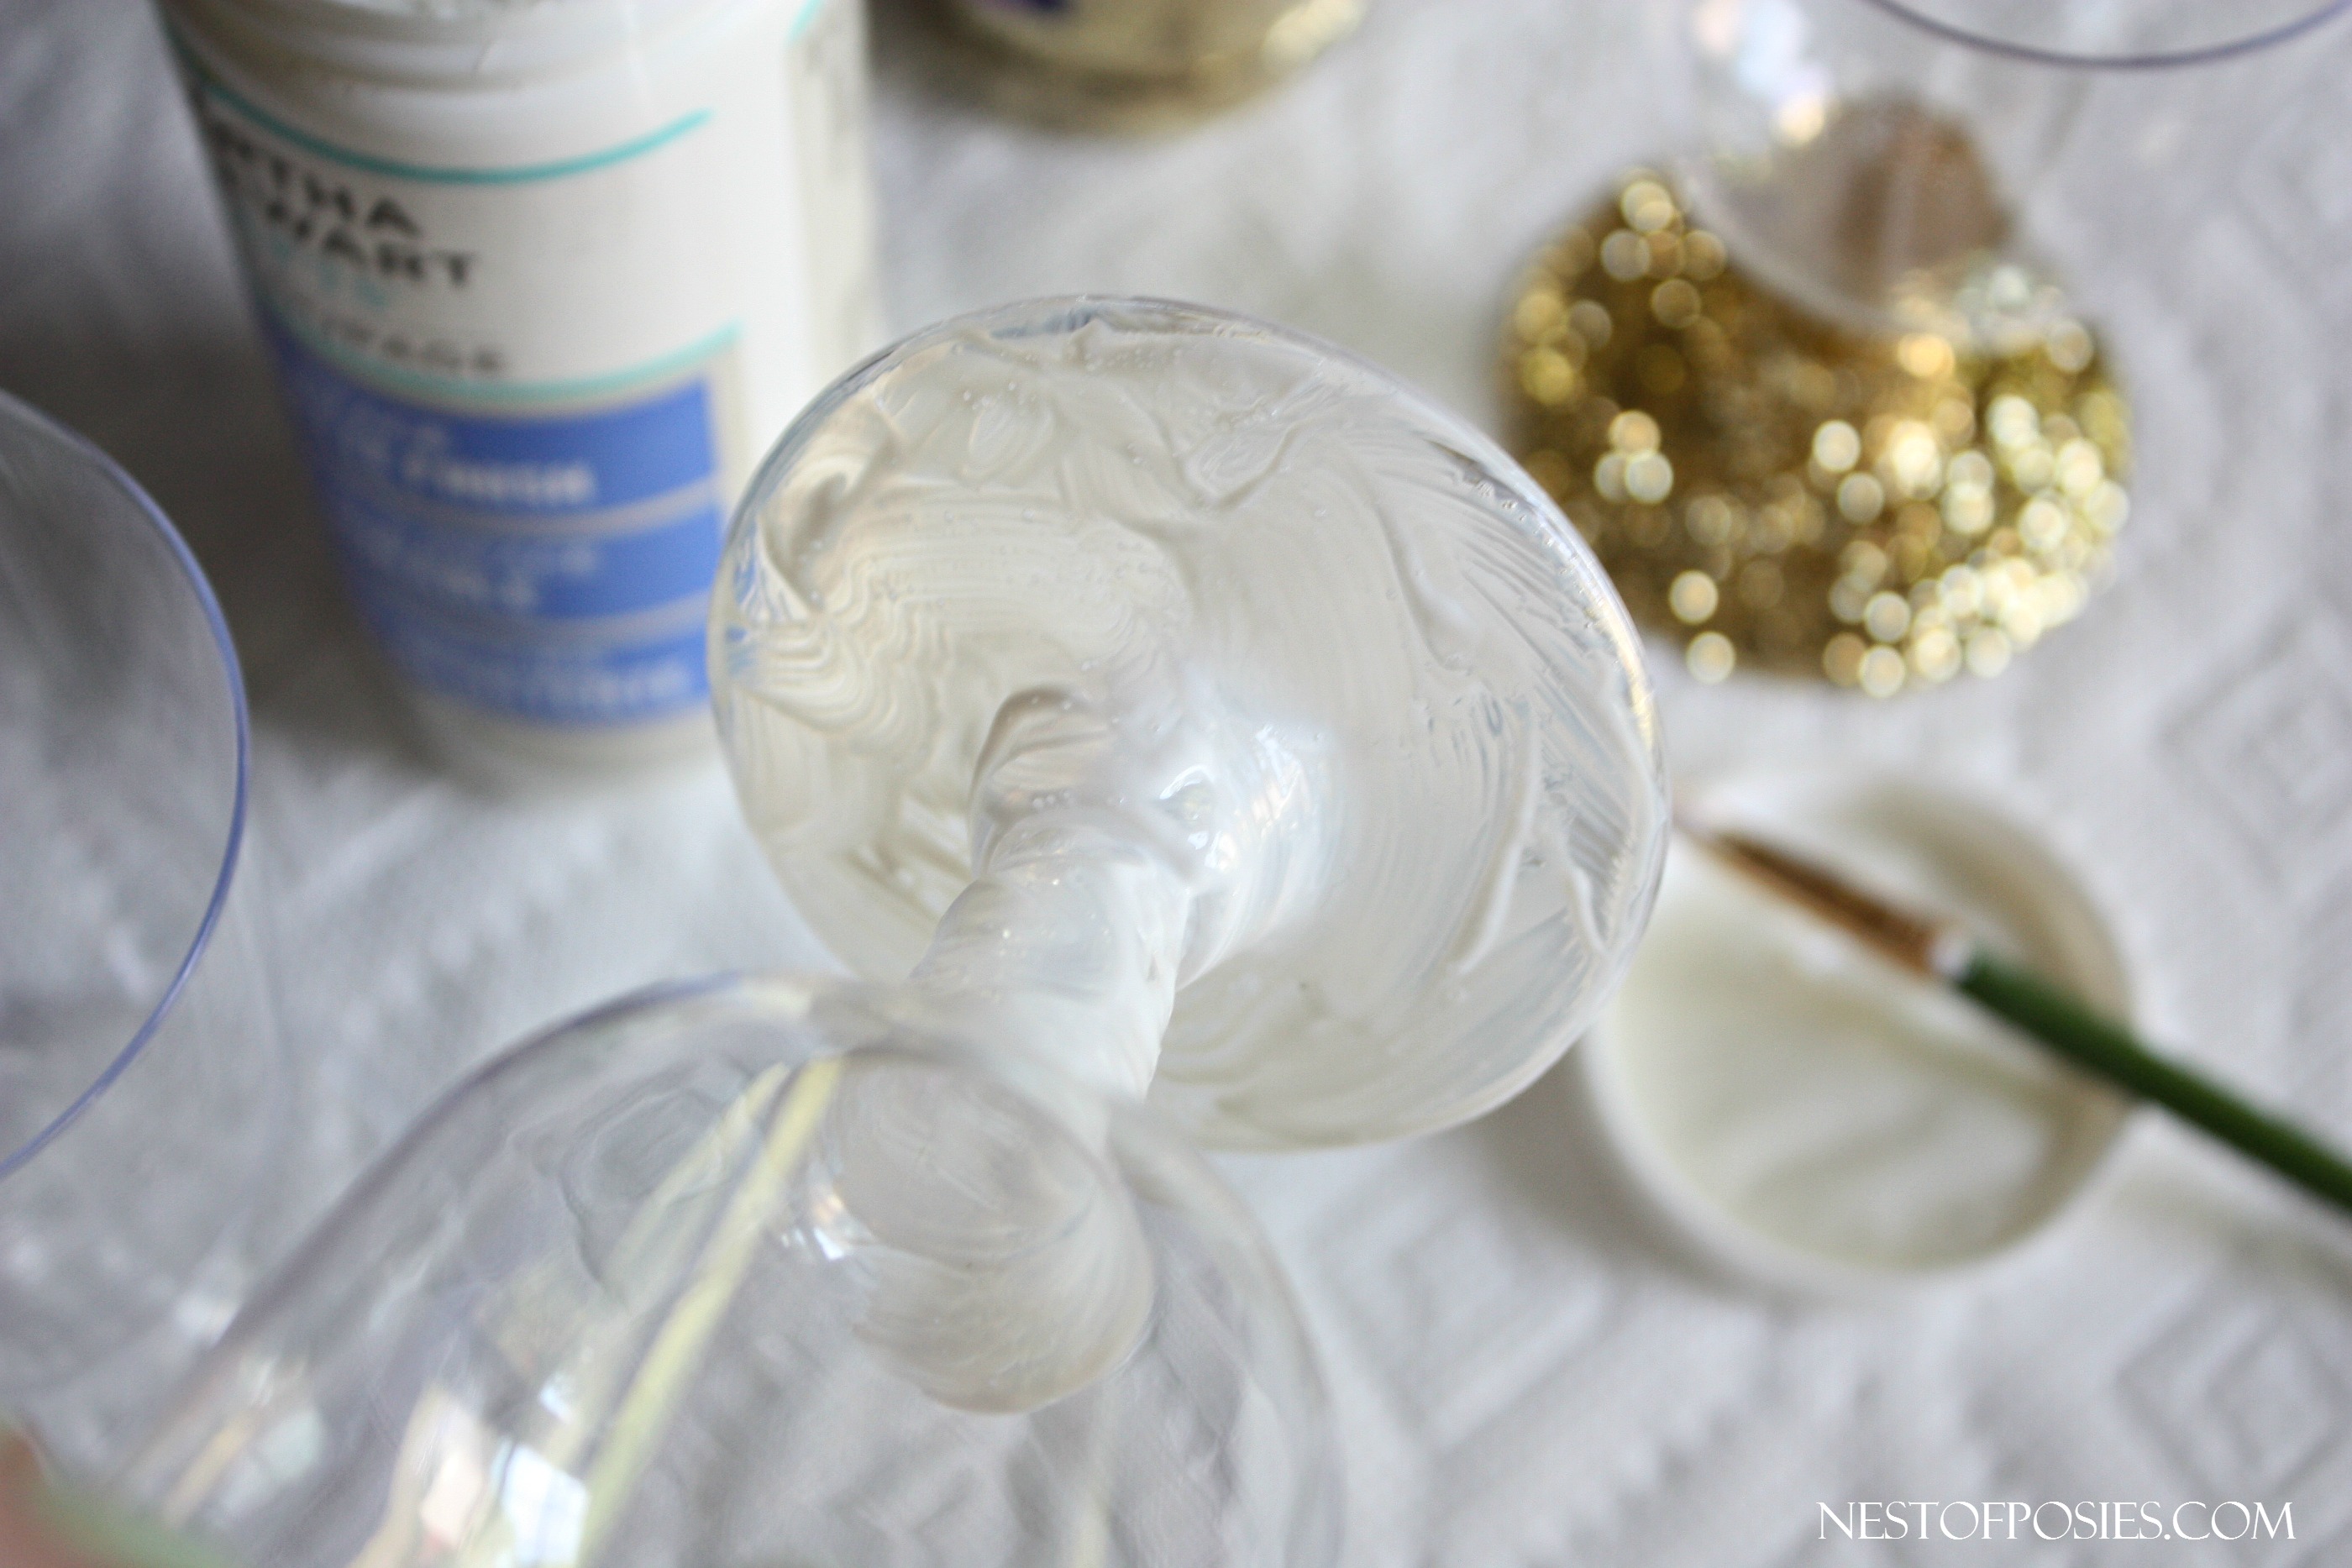
Grab either Martha Stewart’s Decoupage or Mod Podge
A paint brush
And some glitter
Use your paint brush to apply the decoupage to the stem and base of your glass. (8 seconds – seriously!)
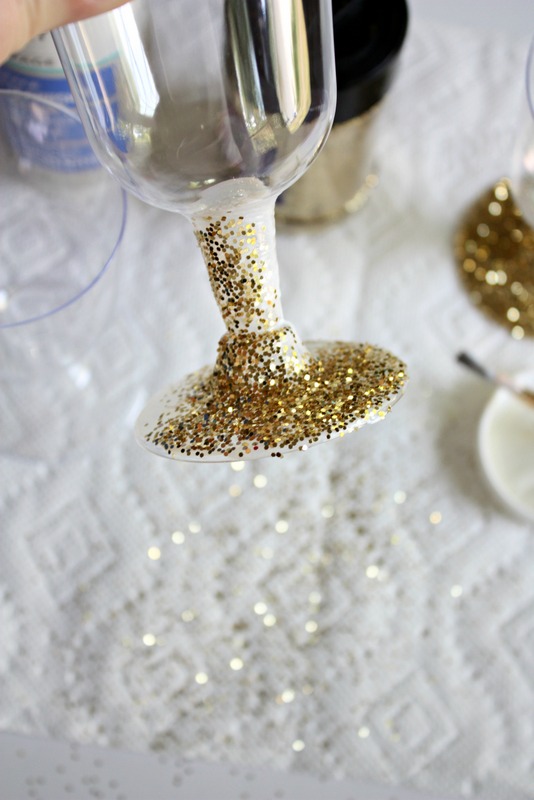
Sprinkle your glitter over the decoupage. Be sure to cover all areas.
Allow time to dry – overnite.
Now, this is the thing you need to remember, you’ll need to apply another coat of decoupage over the glitter once it has dried. Shake all the loose glitter off, and grab your paint brush & apply the decoupage over the glitter. If you can, I would plan on making these 1-2 weeks before your party. So it will allow the cups time to get dry & the glitter will hold in place a lot better as well.
I mean, seriously ~ who could drink out of a Red SOLO cup after creating a work of art such as this???
Are you going to have flakes of glitter that will come off? Yep! You sure will.
You’ll probably even get some glitter on your hands & fingers & then most likely the next thing you’ll do is wipe your face, and you’ll have glitter now on your face. But the thing is ~ some people pay to have sparkle added to their face & makeup. So it’s no big deal!
Remember, for only mere pennies you can have the “NEW” trend in plastic cups!!! 😉
Ditch the SOLO cup & go for the gold instead.