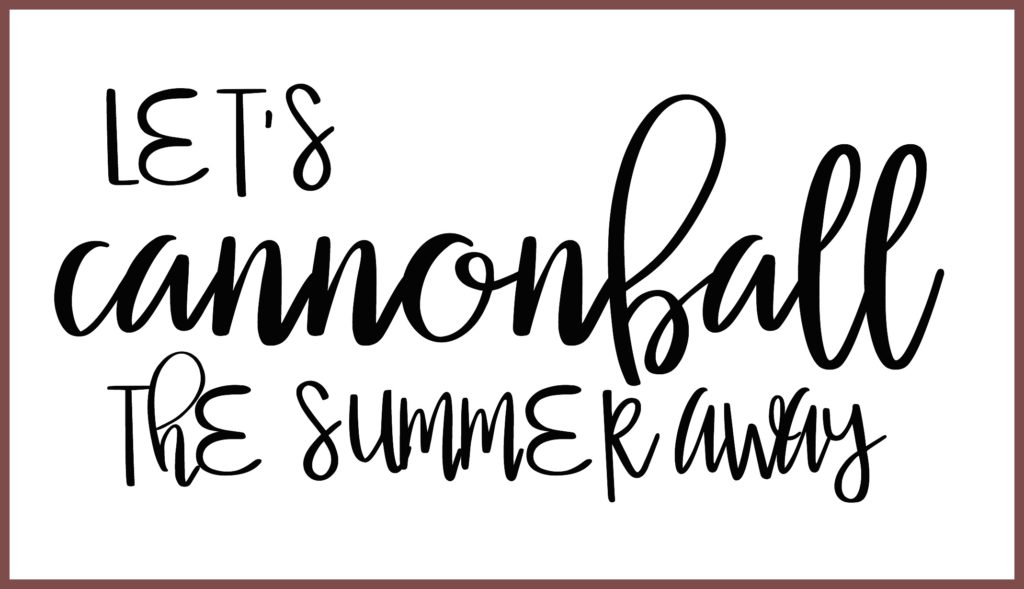
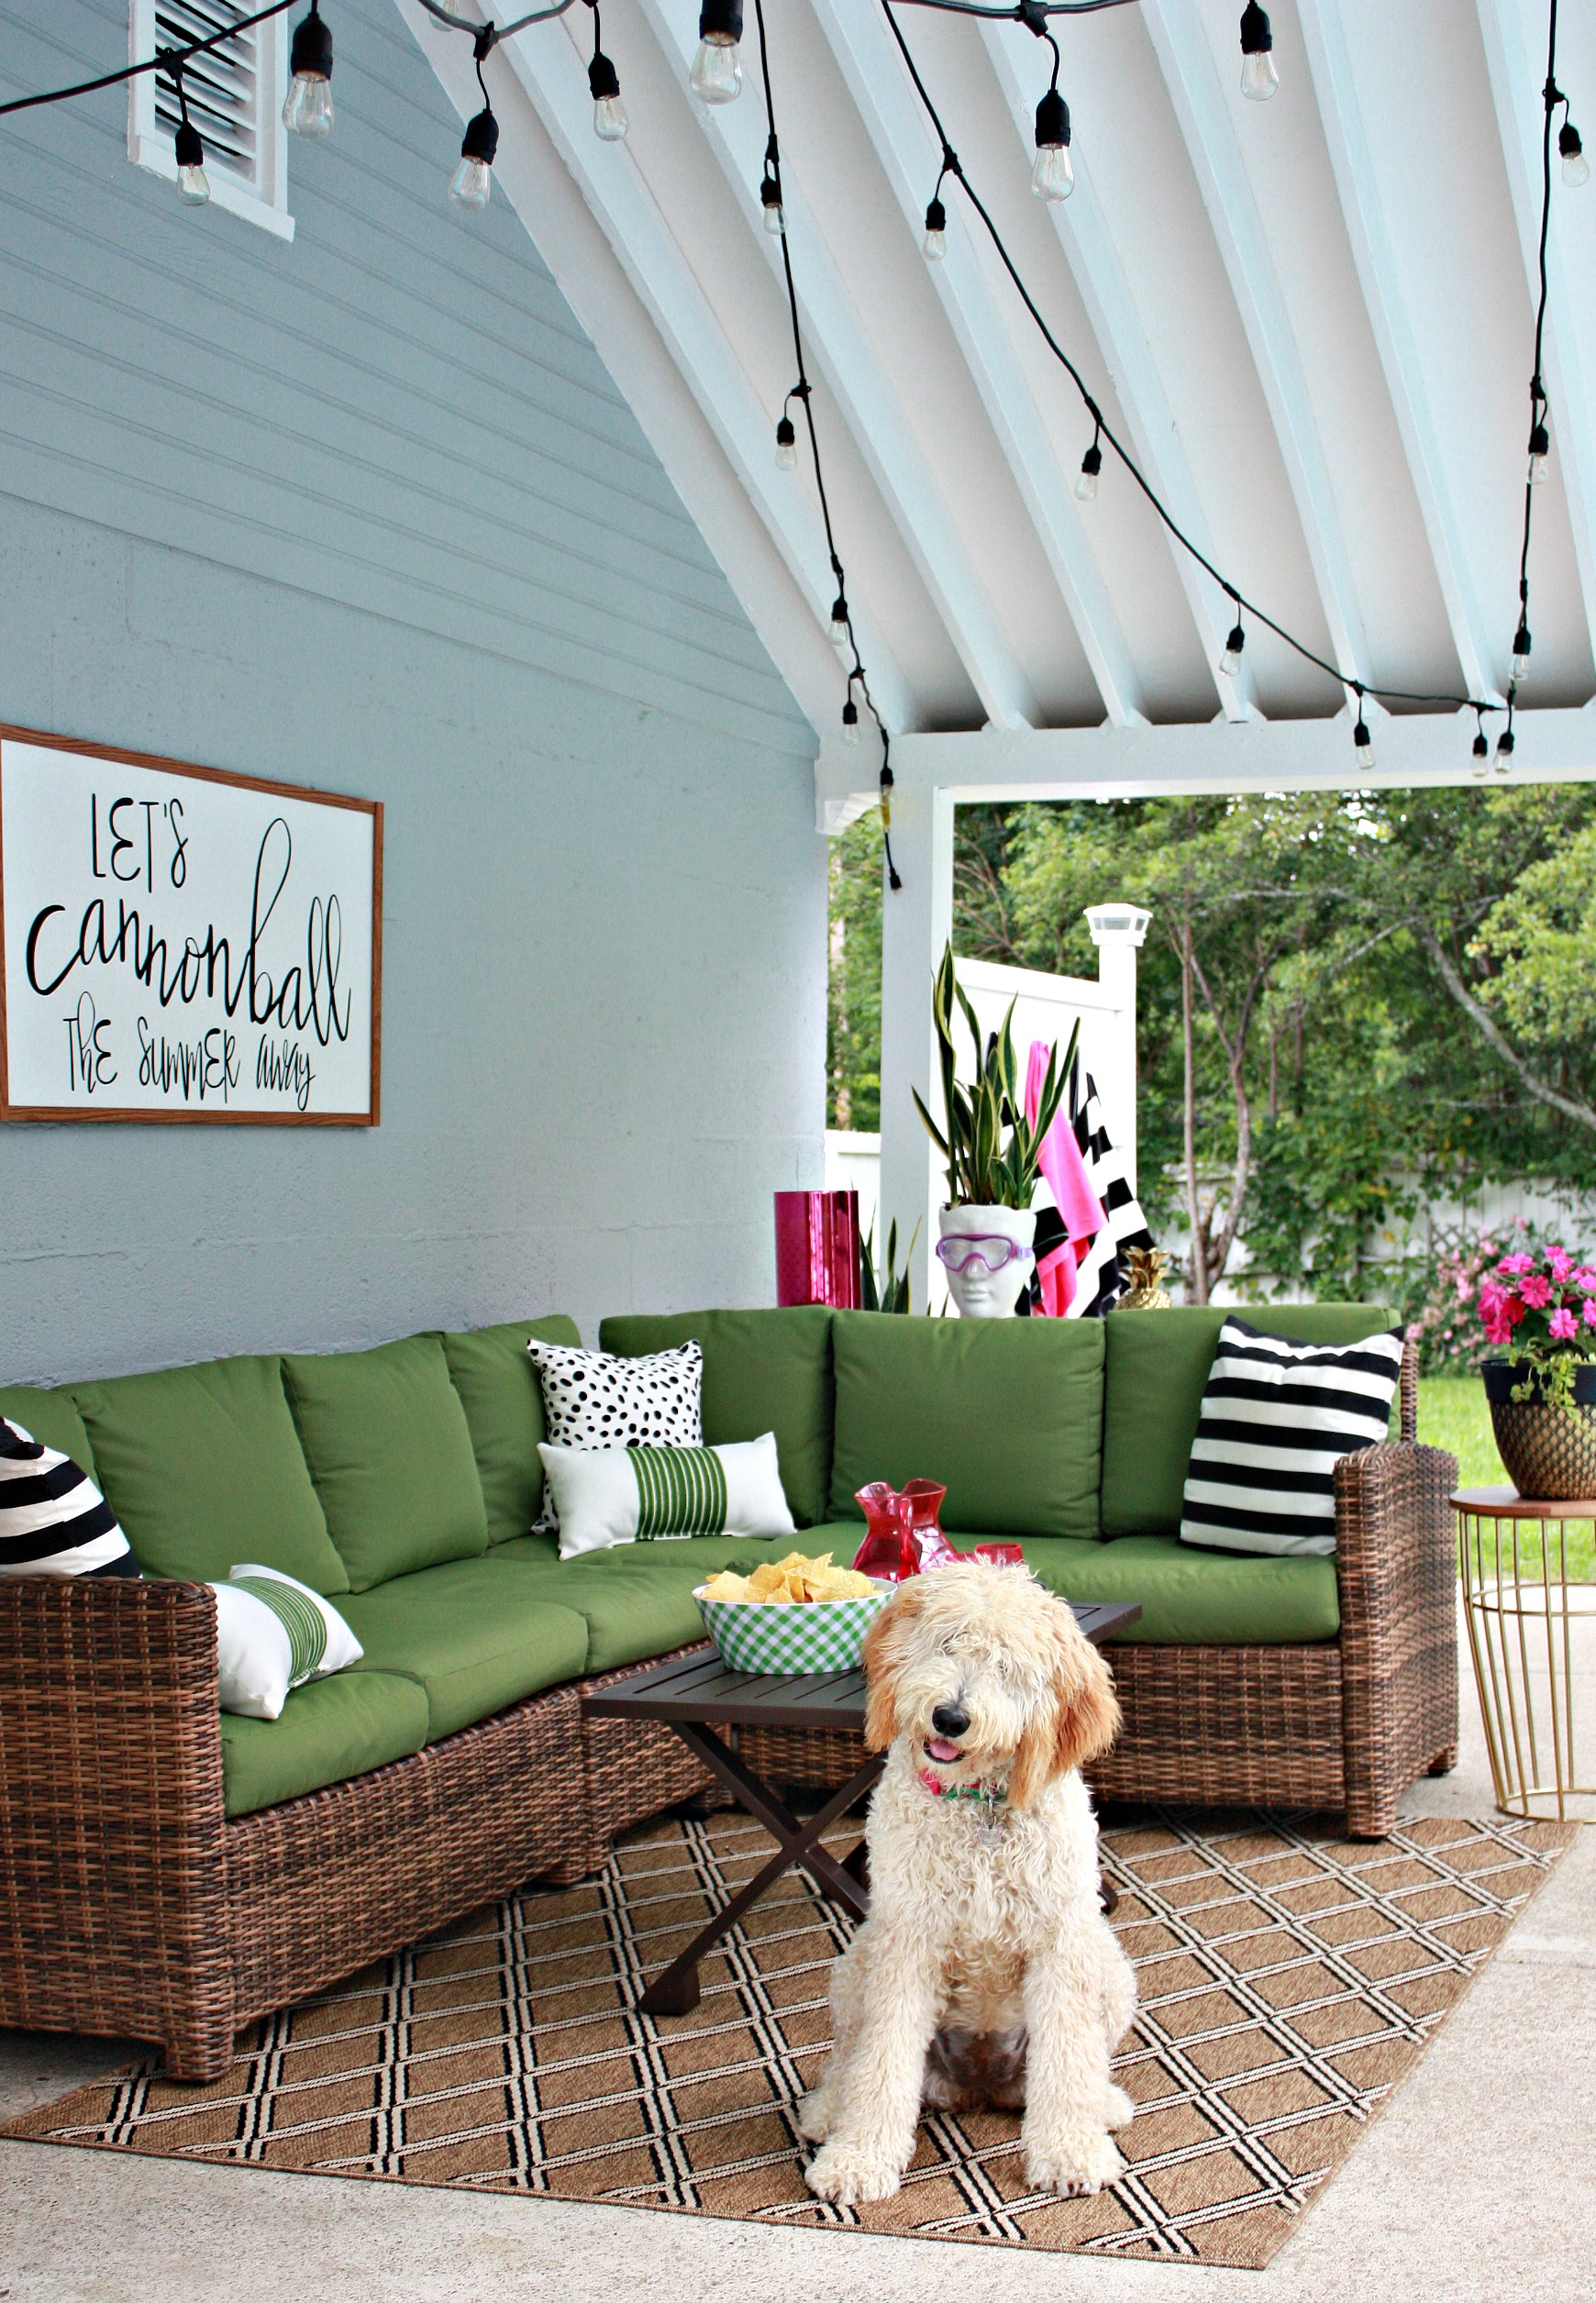
You see it all started with a quote my twins had been saying before we opened the pool this Summer. You know how kids are…they keep talking & talking about something – in full anticipation of what’s to come & how excited they are to finally be able to “Cannonball the Summer Away!!!” So I decided to just go for it & make a sign on their cute saying. So hopefully this post & some tips will help anyone who is curious on how to make a custom sign for the outdoors.

The reason for ordering a font from Silhouette vs. using one you already own, is because of “welding” the letters together. If you aren’t familiar with the term “welding” it has to do with script fonts (letters) being able to be joined together…or not in certain situations on a cutting machine such as a Silhouette. Typically the fonts you purchase from the Silhouette store are far easier to “weld” together than fonts from other sites.
Once I selected my font, I played around with it on Ribbet.com (a photo editing site) for placement & size.
(the above was just an additional step to help me visualize and determine the sizing of the words)
The supplies you’ll need to make a custom sign for the outdoors:
Wood board cut to the size of sign you want (typically Birch wood is used)
Decorative trim or molding for the frame
Paint for Outdoors (I used my exterior trim paint)
Stain for your frame (or paint)
Sealer
Silhouette Cutting Machine
Outdoor Cutting Vinyl – I used this roll (because of the 5 yards in length!!!) but there’s also these sheets available
Ruler
Pencil
Gorilla glue to attach the frame – allow to dry 24 hours
Picture hanging kit to attach a hanging wire
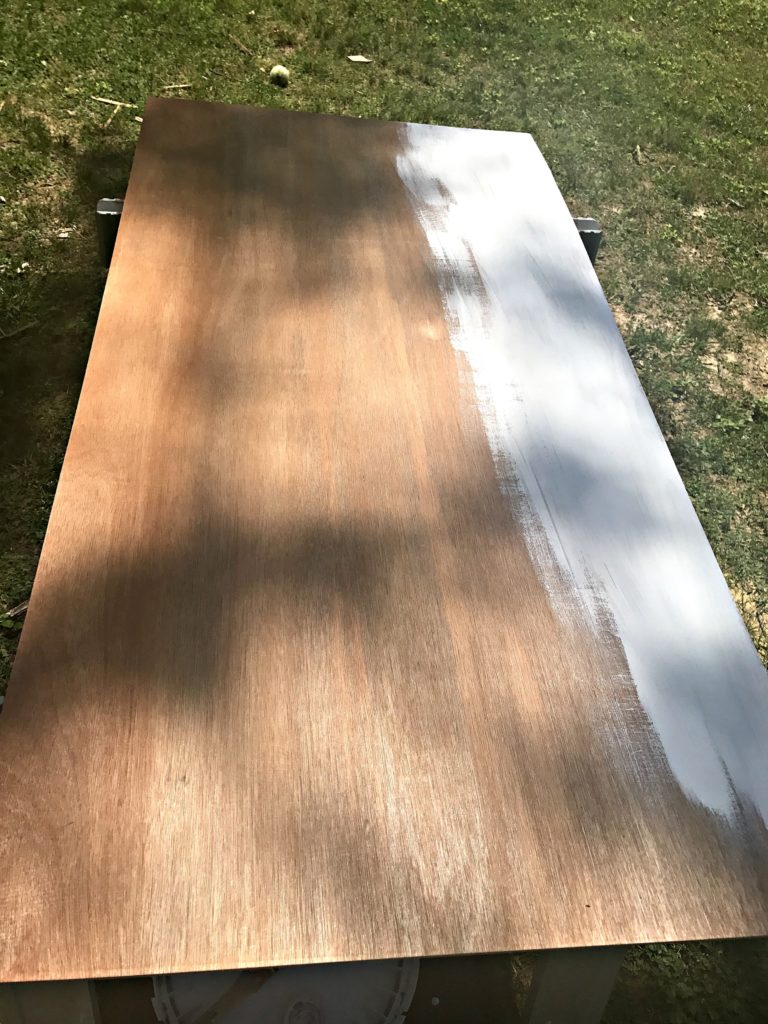
Here’s the beginning stages of painting my piece of Birch wood. I got this piece of wood for $5.99 at Lowes – it is 4ftx2ft – so it’s a great size and price for a sign!
I also used our exterior paint trim color – Basic White.
Luckily, my husband was around to help who was even more patient than I was with working with the letters and their placement!
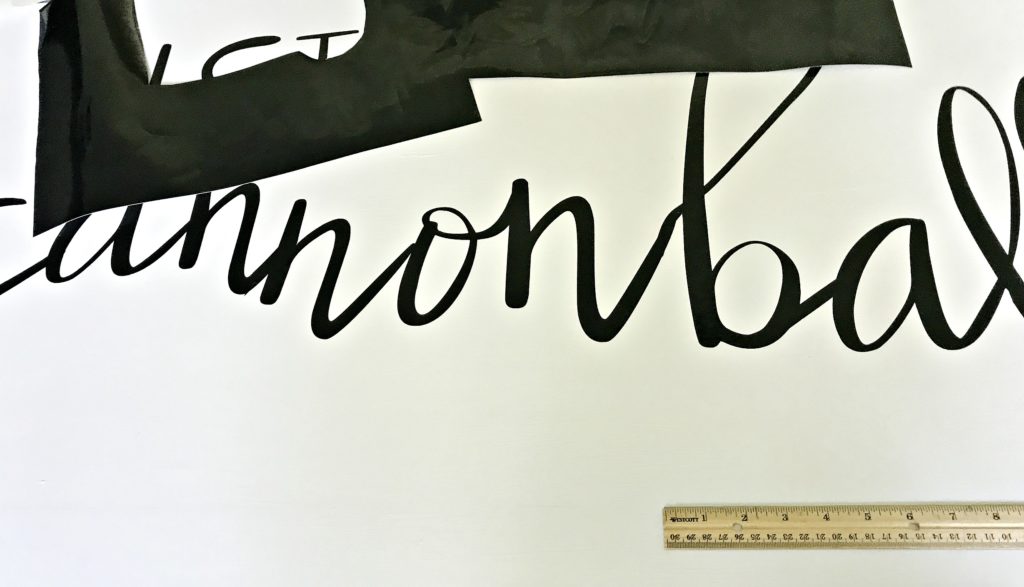
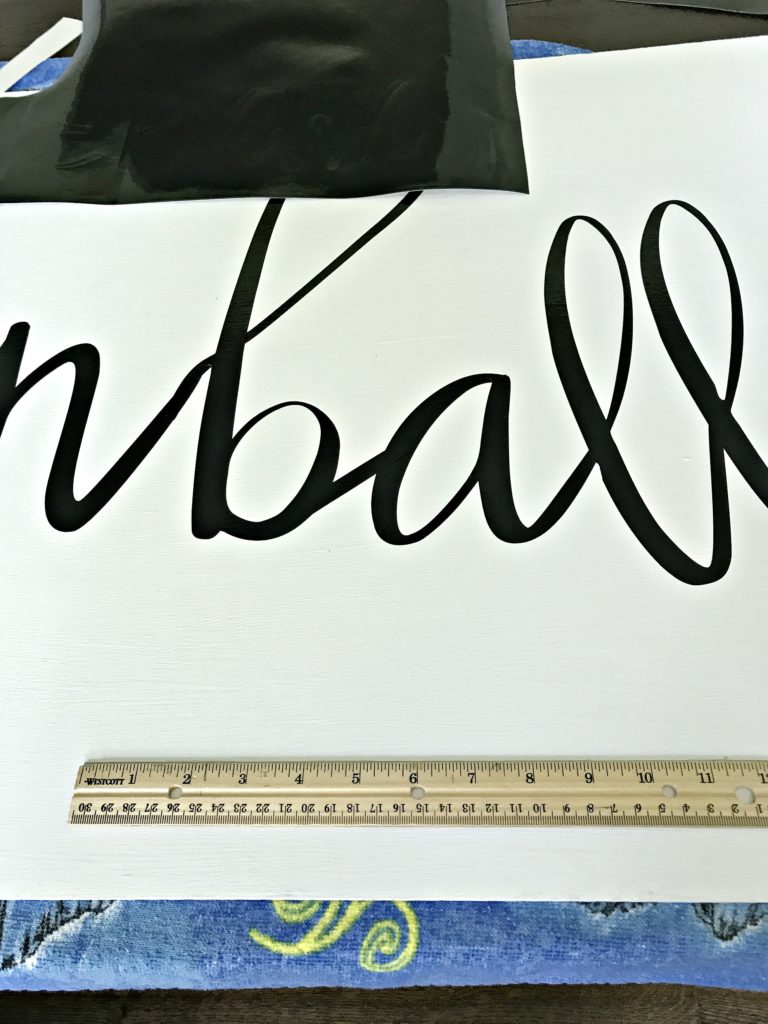
With a beach towel, you’re also able to move it back & forth with the help from your kids or husband while working on it, and it also helped keep all my supplies together on the towel. In the picture above, I used my ruler to lightly pencil in lines here and there to keep me on track with placement. I didn’t want a lot of pencil marks (and have to erase them) on white paint. I was nervous about the smearing of the pencil marks. Because trust me, you don’t want to create anymore work than you have to on creating a sign. All of these tips are just my personal opinions on how to make a custom sign for the outdoors, you may find more tips on the Silhouette blog.
I purposely made the word “cannonball” off centered and skewed slightly – just to draw the eye in and focus on the word itself. All the other wording I used the ruler to draw pencil lines, which helped me place the vinyl letters.
A few words about the outdoor vinyl: I was pleasantly surprised at the quality and thickness of the vinyl itself. It is glossy, and to be honest at first I didn’t think I would like it, but now I have no regrets ordering it and using it on our sign. Again, this is not a sponsored post, but I would highly recommend the outdoor vinyl from Expressions Vinyl. I purchased the 5 yard roll – you know, to allow for mistakes. 😉 But they offer various sizes or sheets of outdoor vinyl.
Birch wood (4ftx2ft) from Lowe’s $5.99
Exterior paint (had on hand) $-0-
Molding for frame from Lowe’s $10.99
Wood Stain (had on hand) $-0-
Gorilla Glue (had on hand) $-0-
Outdoor Vinyl + shipping $17.99
Silhouette font $1.99
Sealer (had on hand) $-0-
_______________________________
TOTAL $37
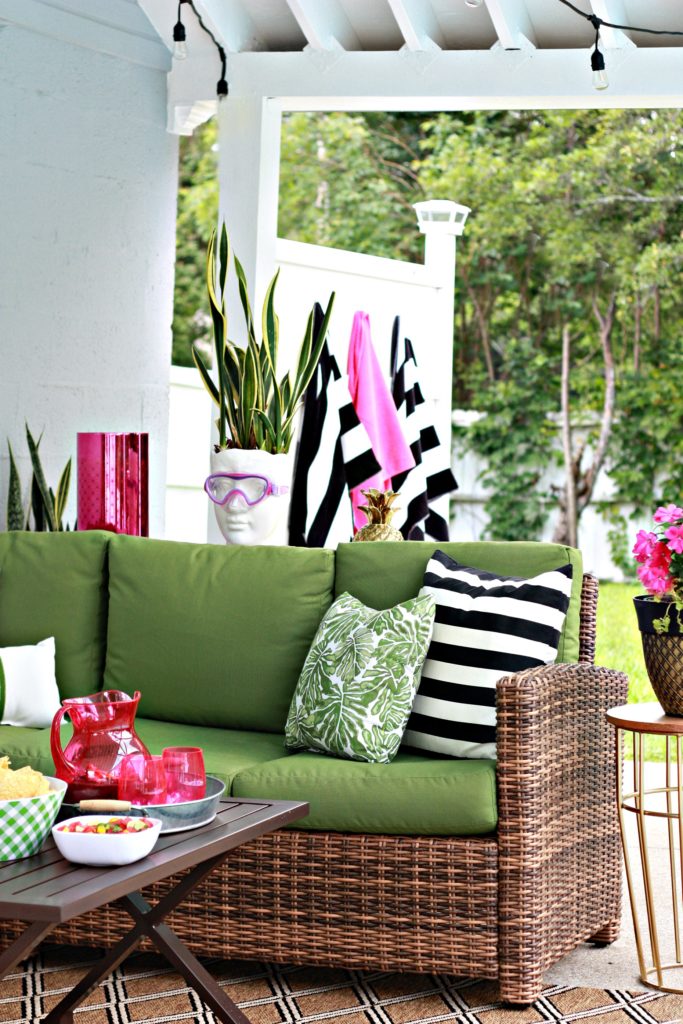
Various sources: outdoor furniture, rug, pot head (a few years old but similar styles, black and white stripe towels, black and white stripe pillows, outdoor string lights.
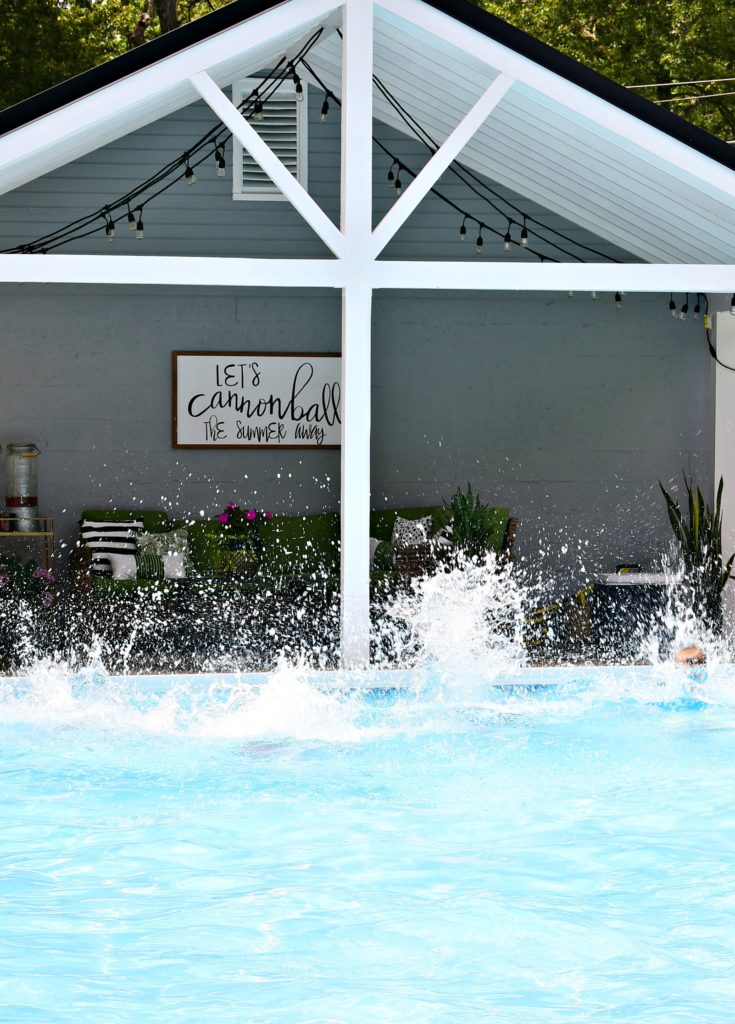
I think it’s safe to say, this entire area is a splash hit…
*this post contains affiliate links*
You may also like to view these posts below: