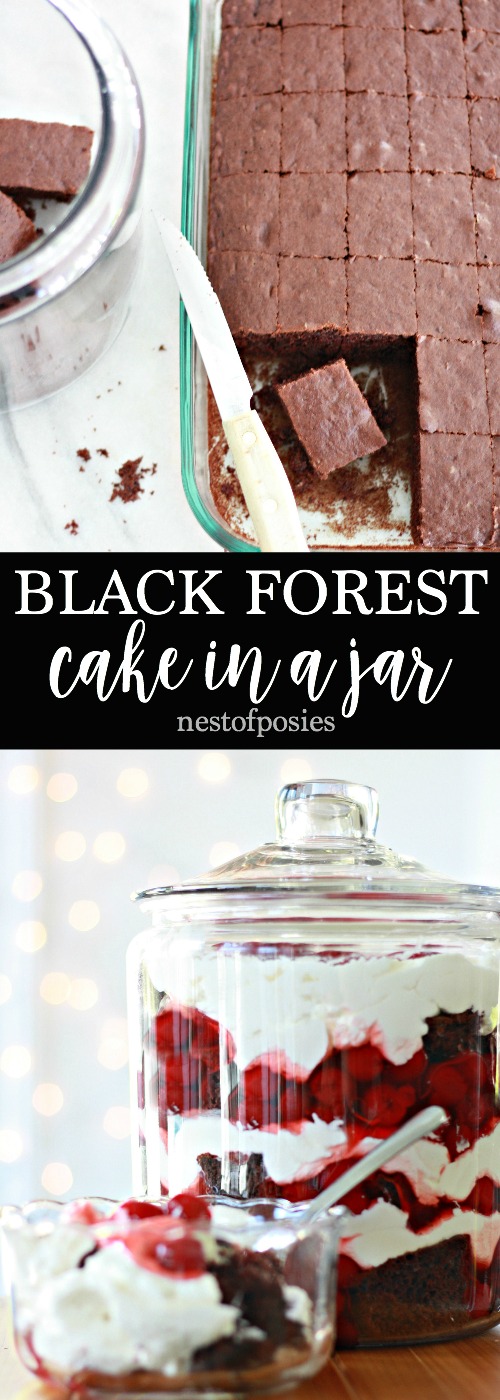
You’re gonna love this Black Forest Cake in a Jar! The thing that makes it extra special is that you assemble and serve it from a large jar, like cookie jar size status!
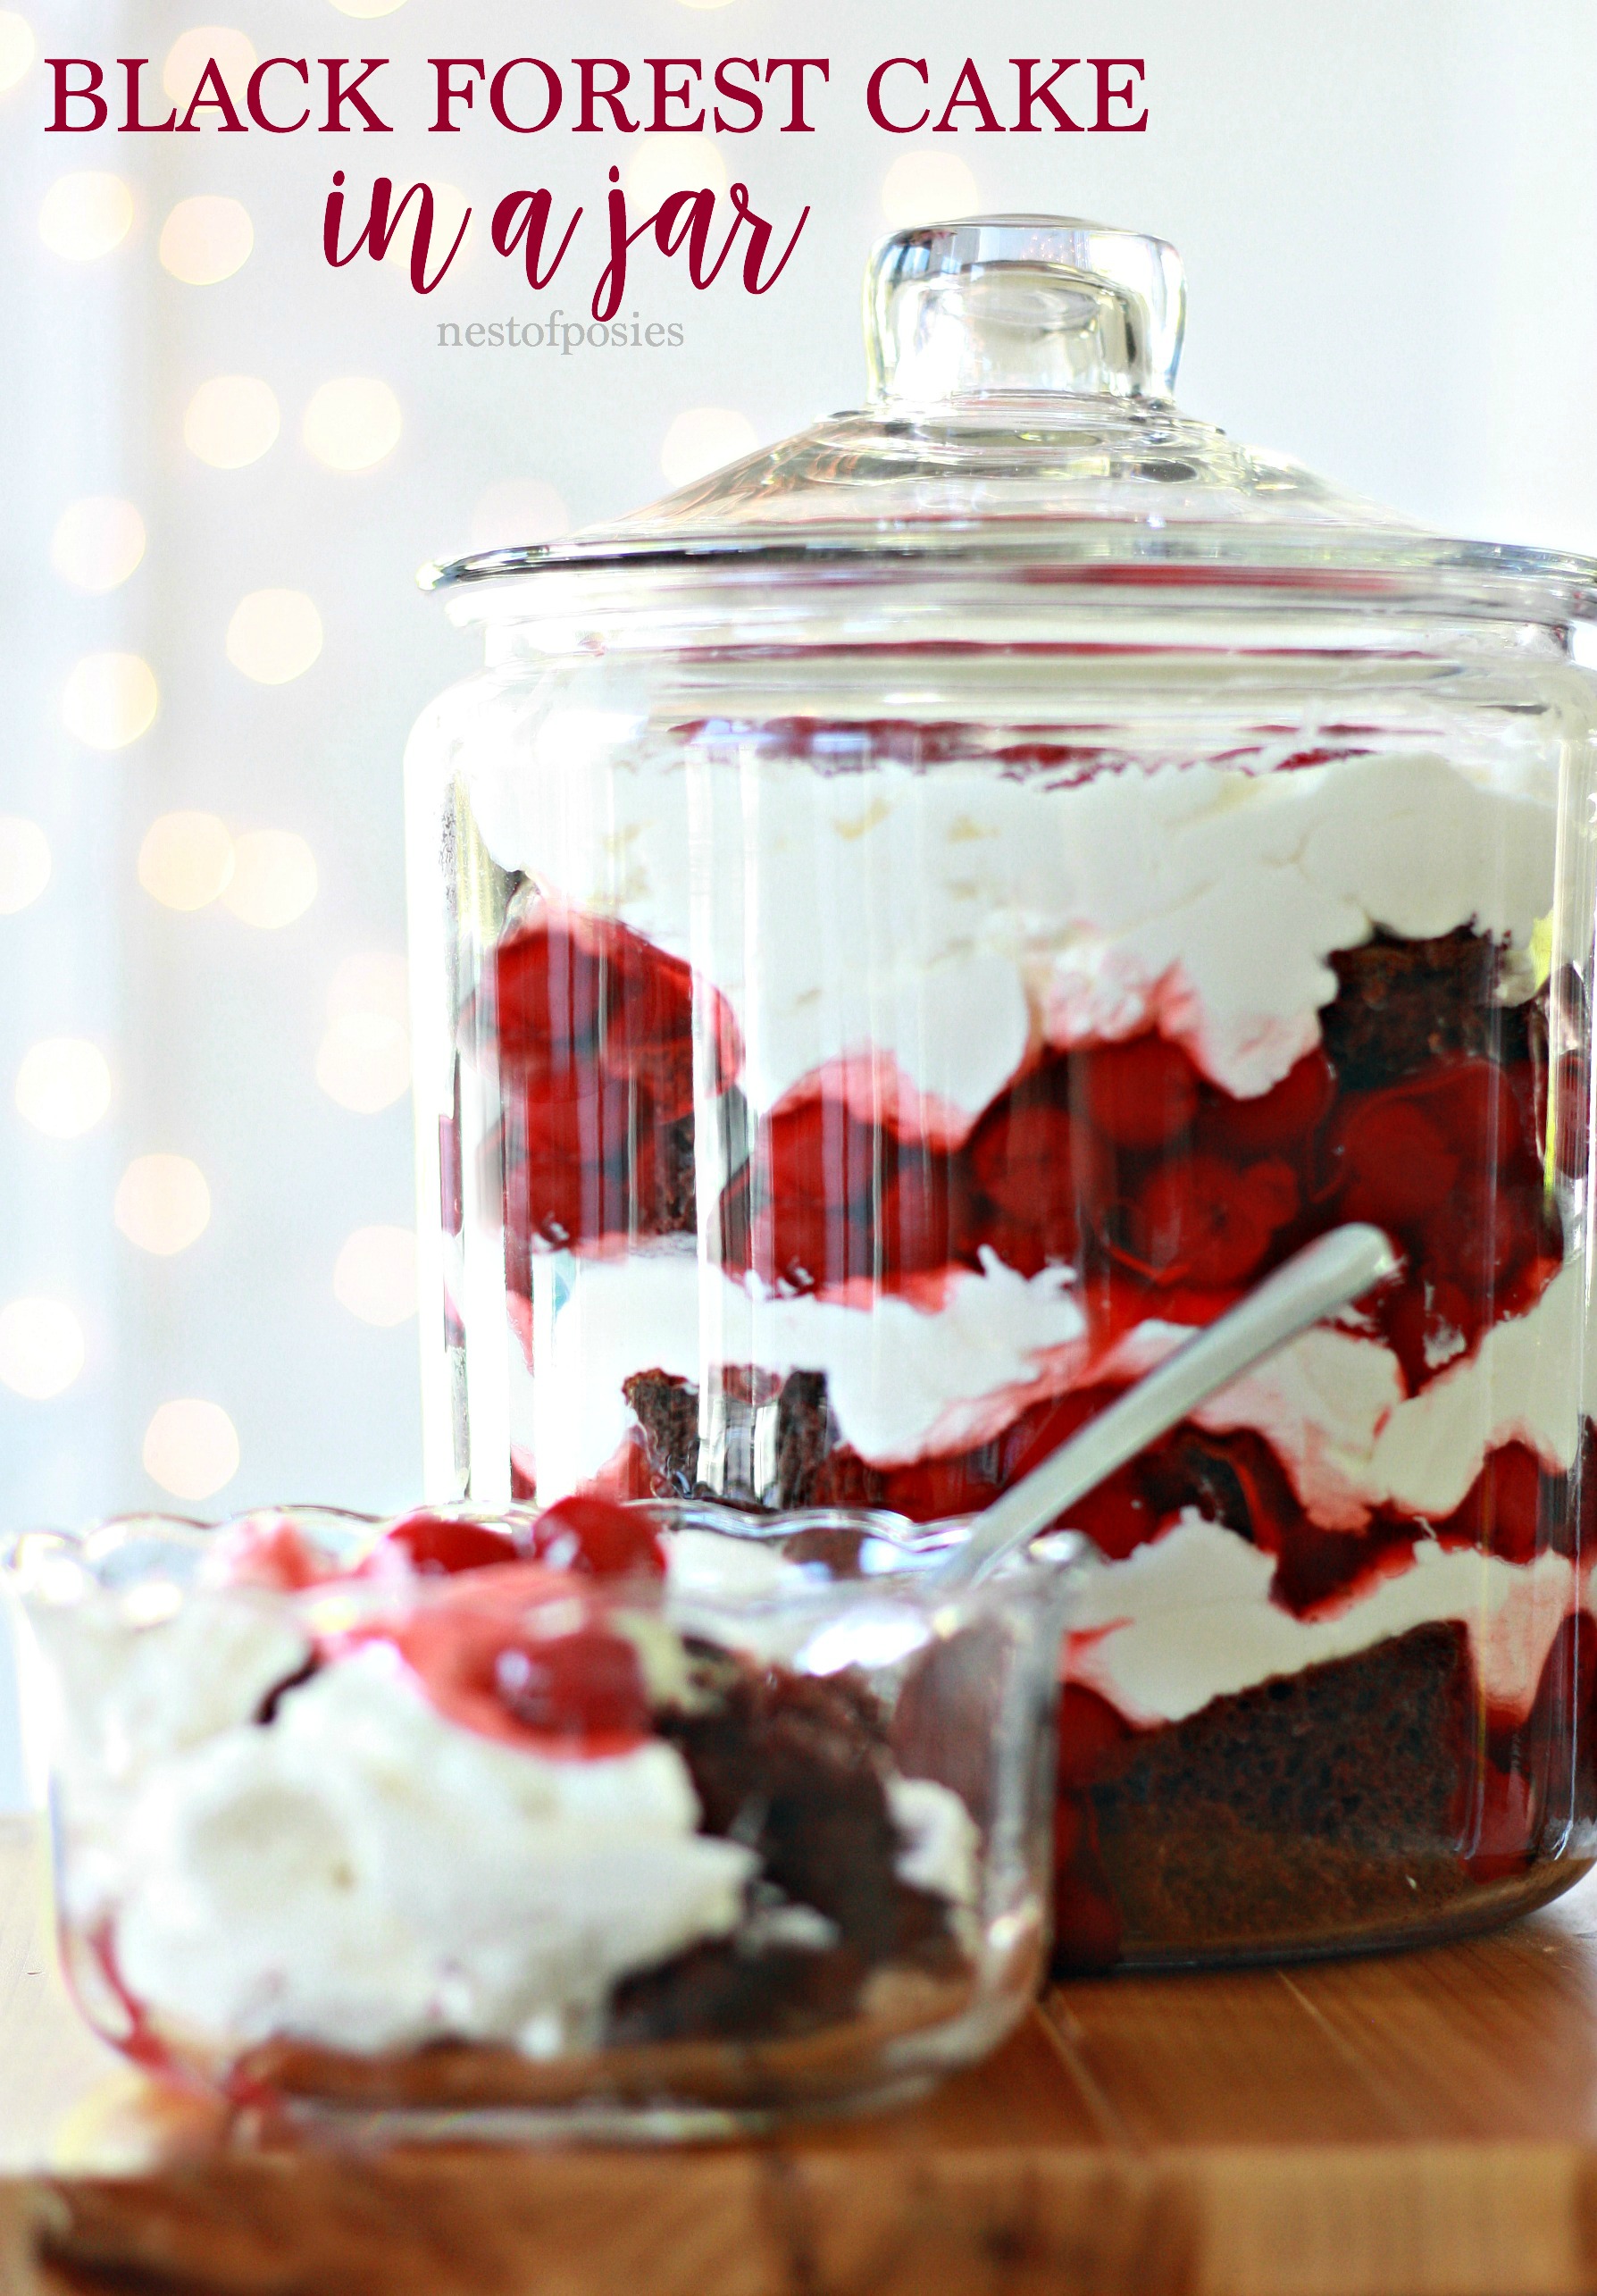
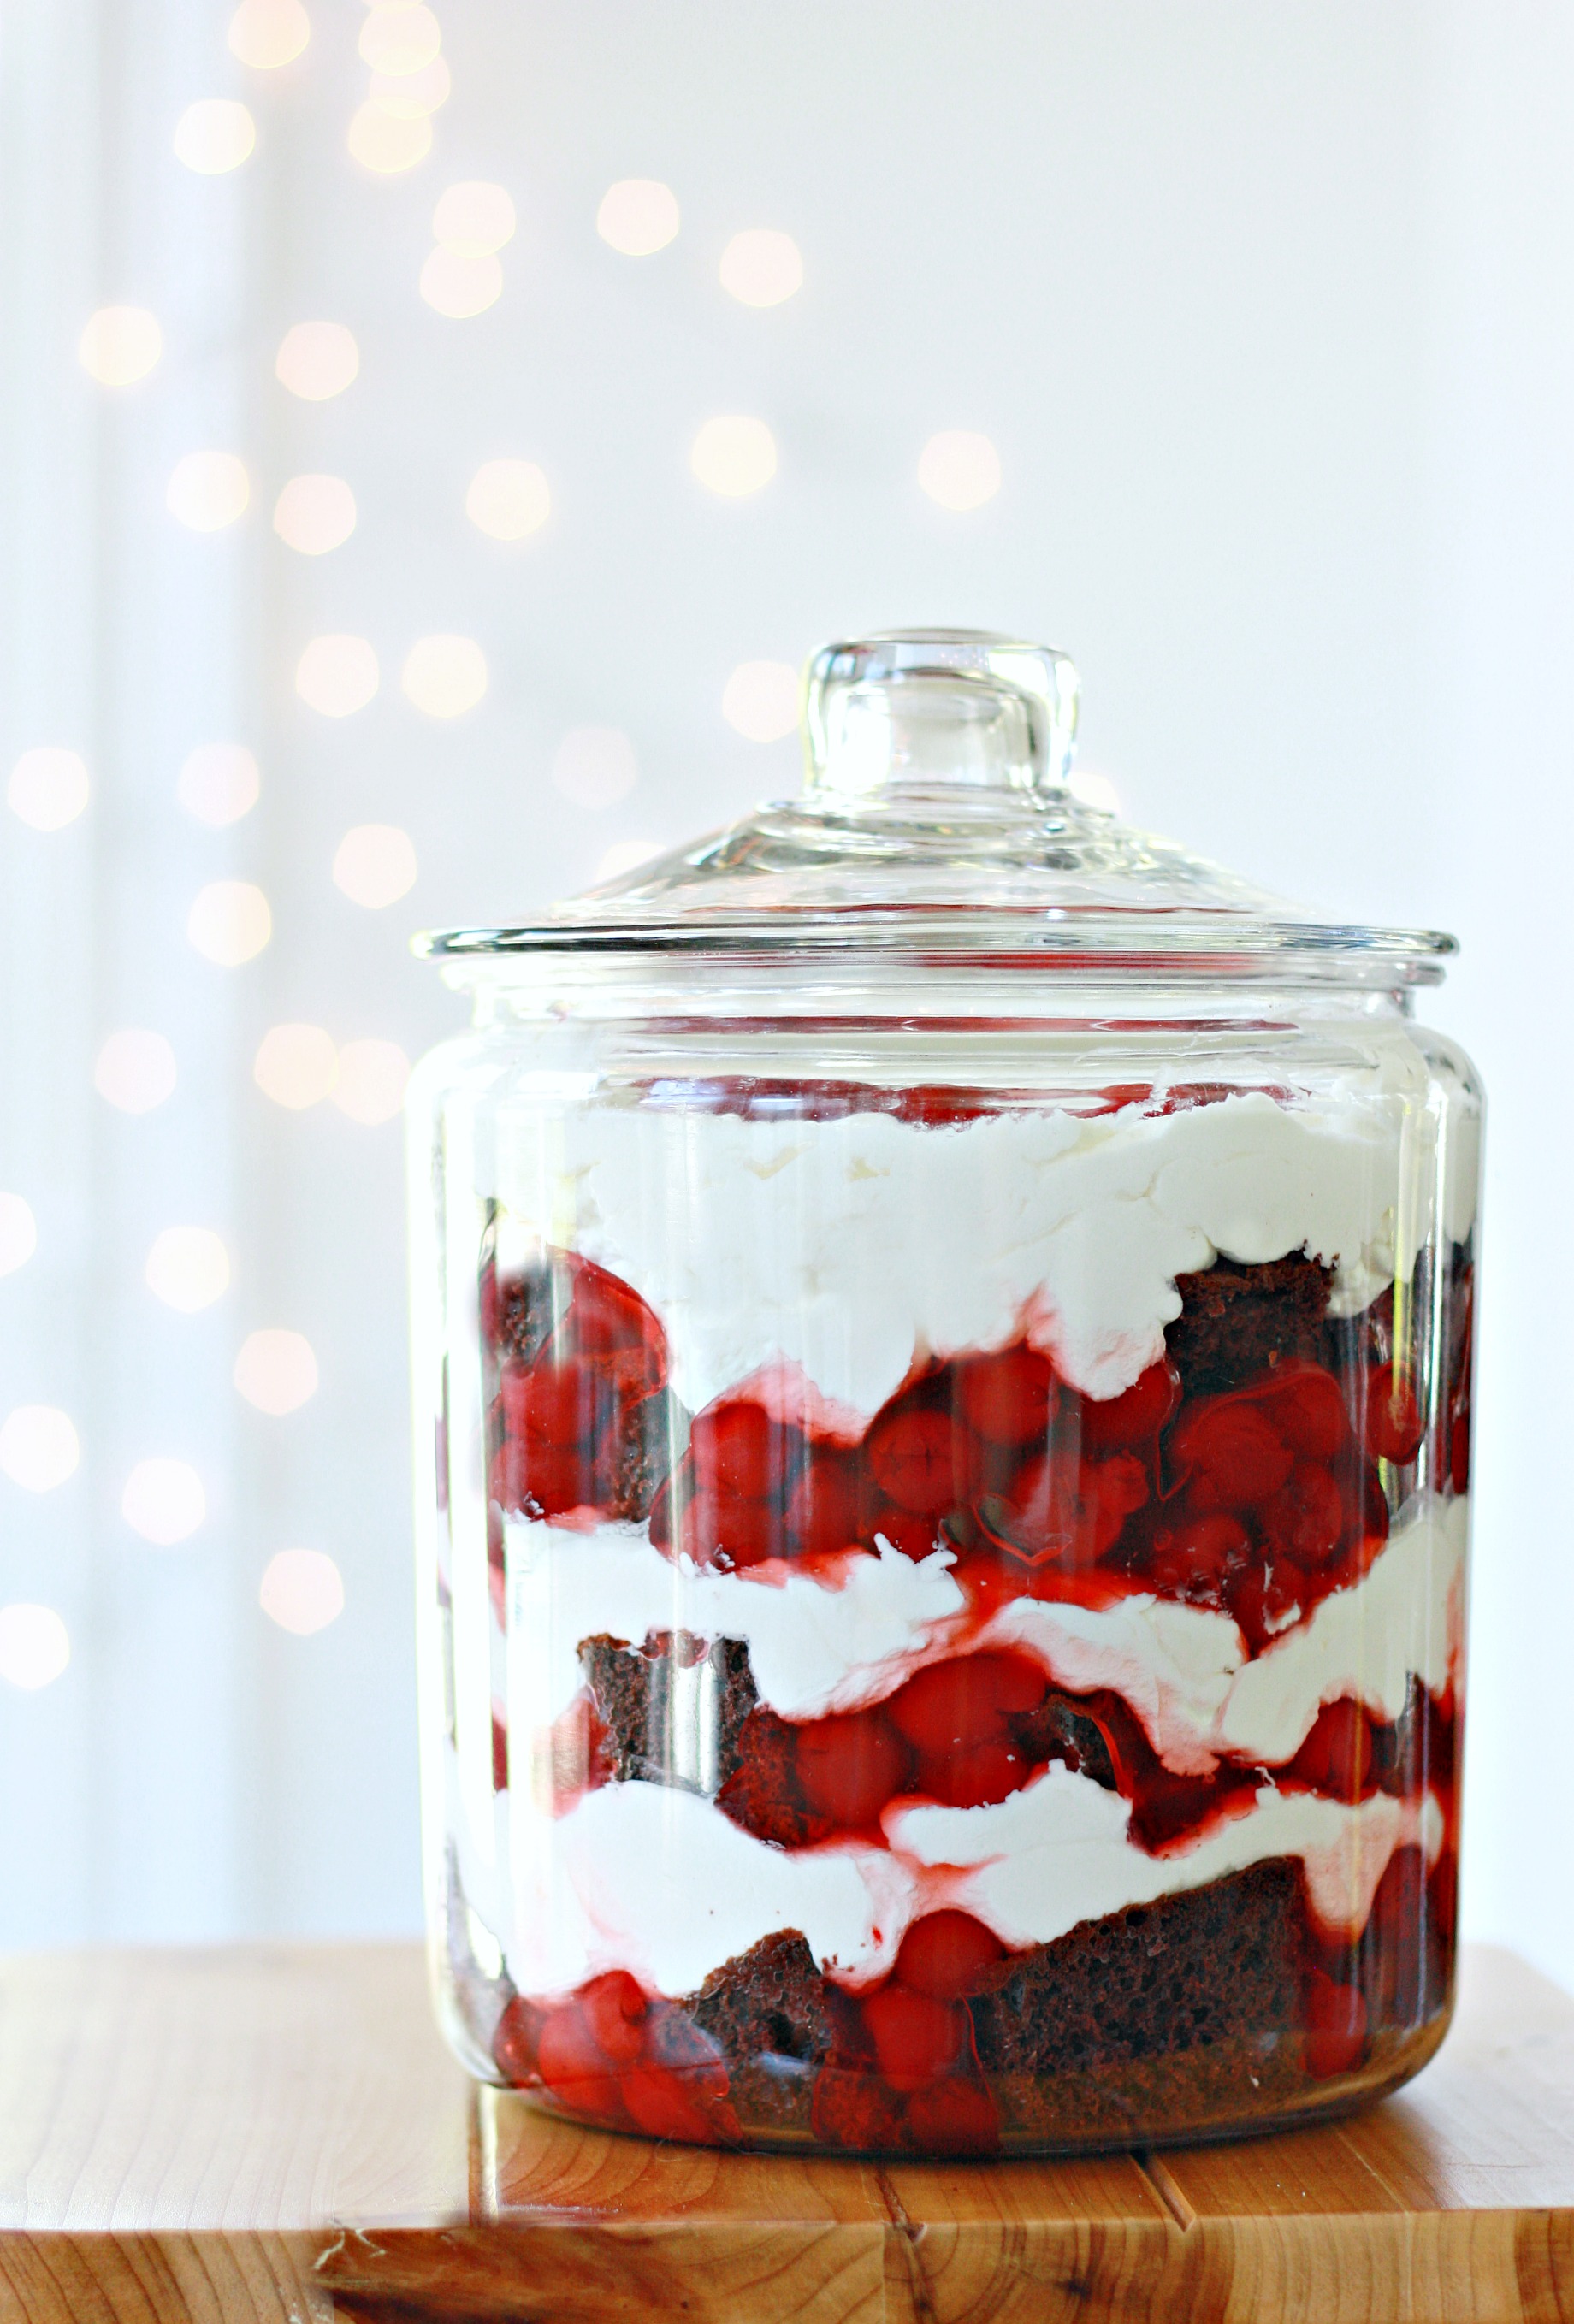
I mean, what’s not to love in this jar. The delicious and beautiful crimson reds from the cherries, up against the sinfully good homemade white cream cheese topping make it a perfect contrast. The colors just pop together, and this dessert is perfect to serve during the upcoming holidays. It really is Christmas in a jar.
The rest is pretty simple and comes together in a matter of minutes.
Add layers and repeat!
Within a few minutes you’ll have your Black Forest Cake in a Jar ready to serve to your family or guests.
Ingredients
- 1 box of chocolate cake mix + ingredients from the back of the box.
- 1 pint of whipping cream
- 1/3 cup powered sugar
- 1 teaspoon of vanilla
- 8 oz cream cheese - softened
- 2 cans of cherry pie filling
- OPTIONAL:
- 1/4 cup of cherry liqueur
- 1/2 sugar
- 1 Tablespoon of water
Instructions
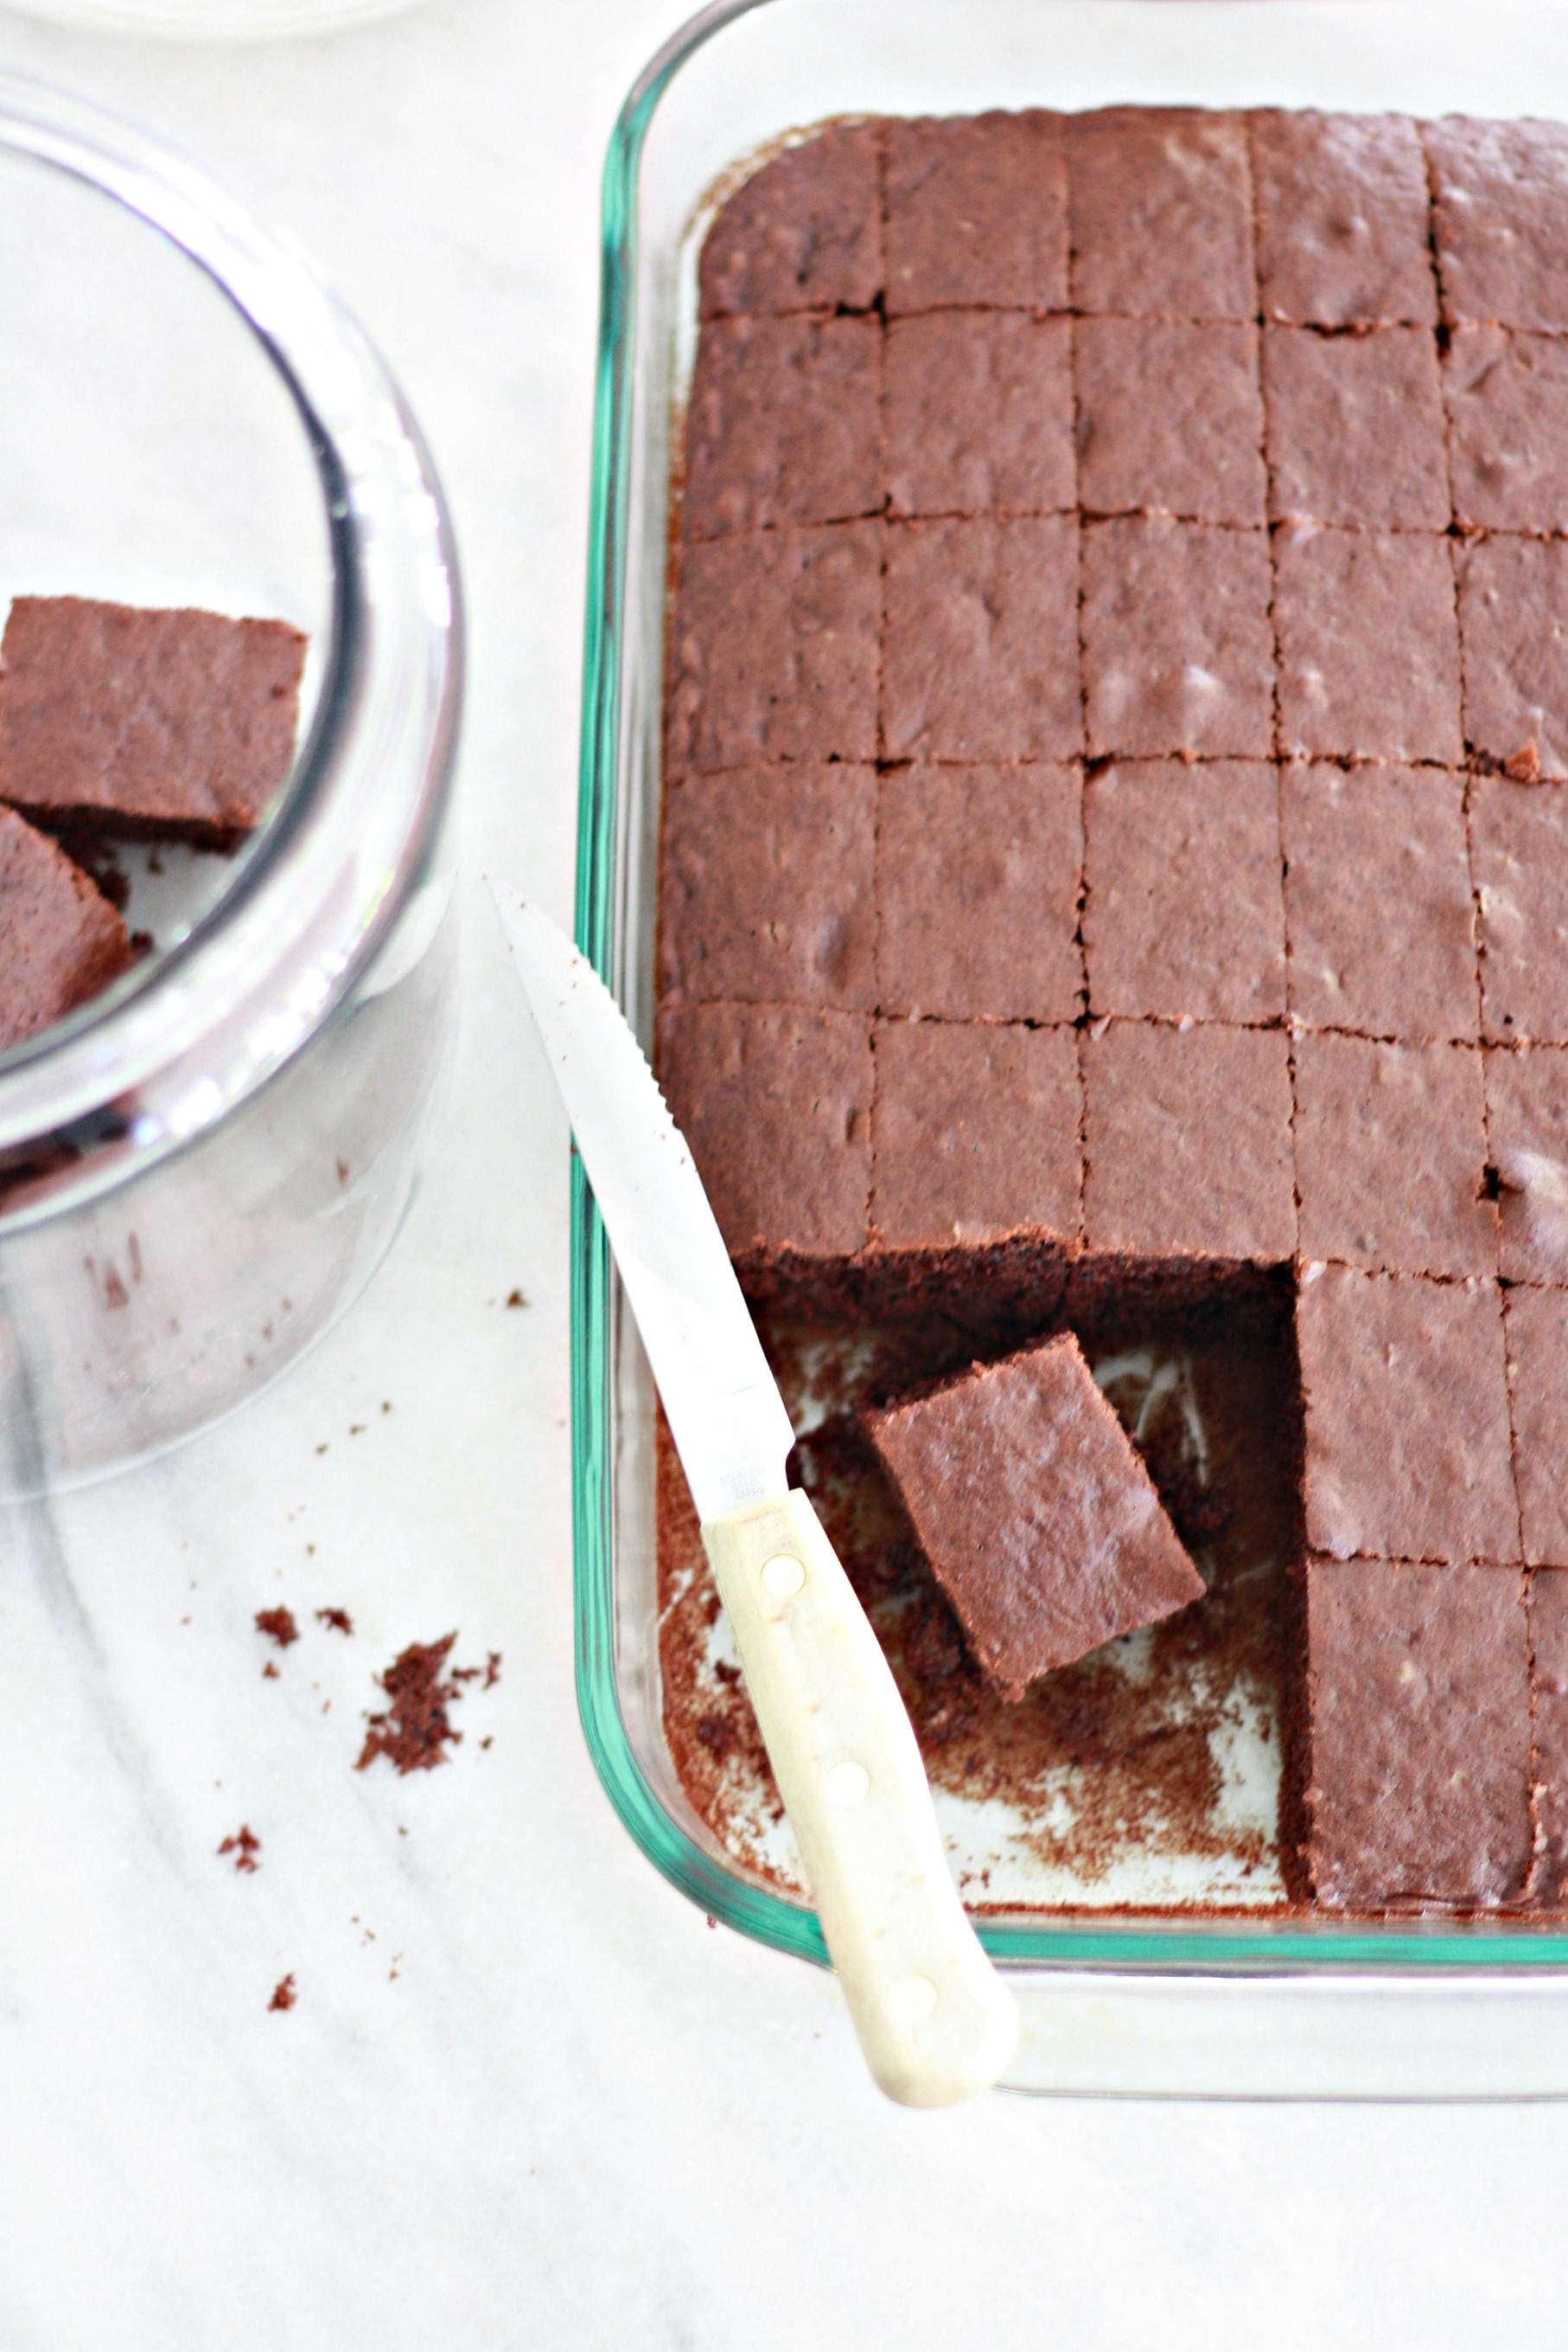
- Bake your chocolate cake in a 9x13 pan according to the back of the box
- Once your cake has cooled cut into bit size squares (as pictured in post)
- OPTIONAL Over medium heat, blend your cherry liqueur and sugar together. You may have to add a tablespoon or more of water. Once it's mixed & blended together - remove from heat to cool.
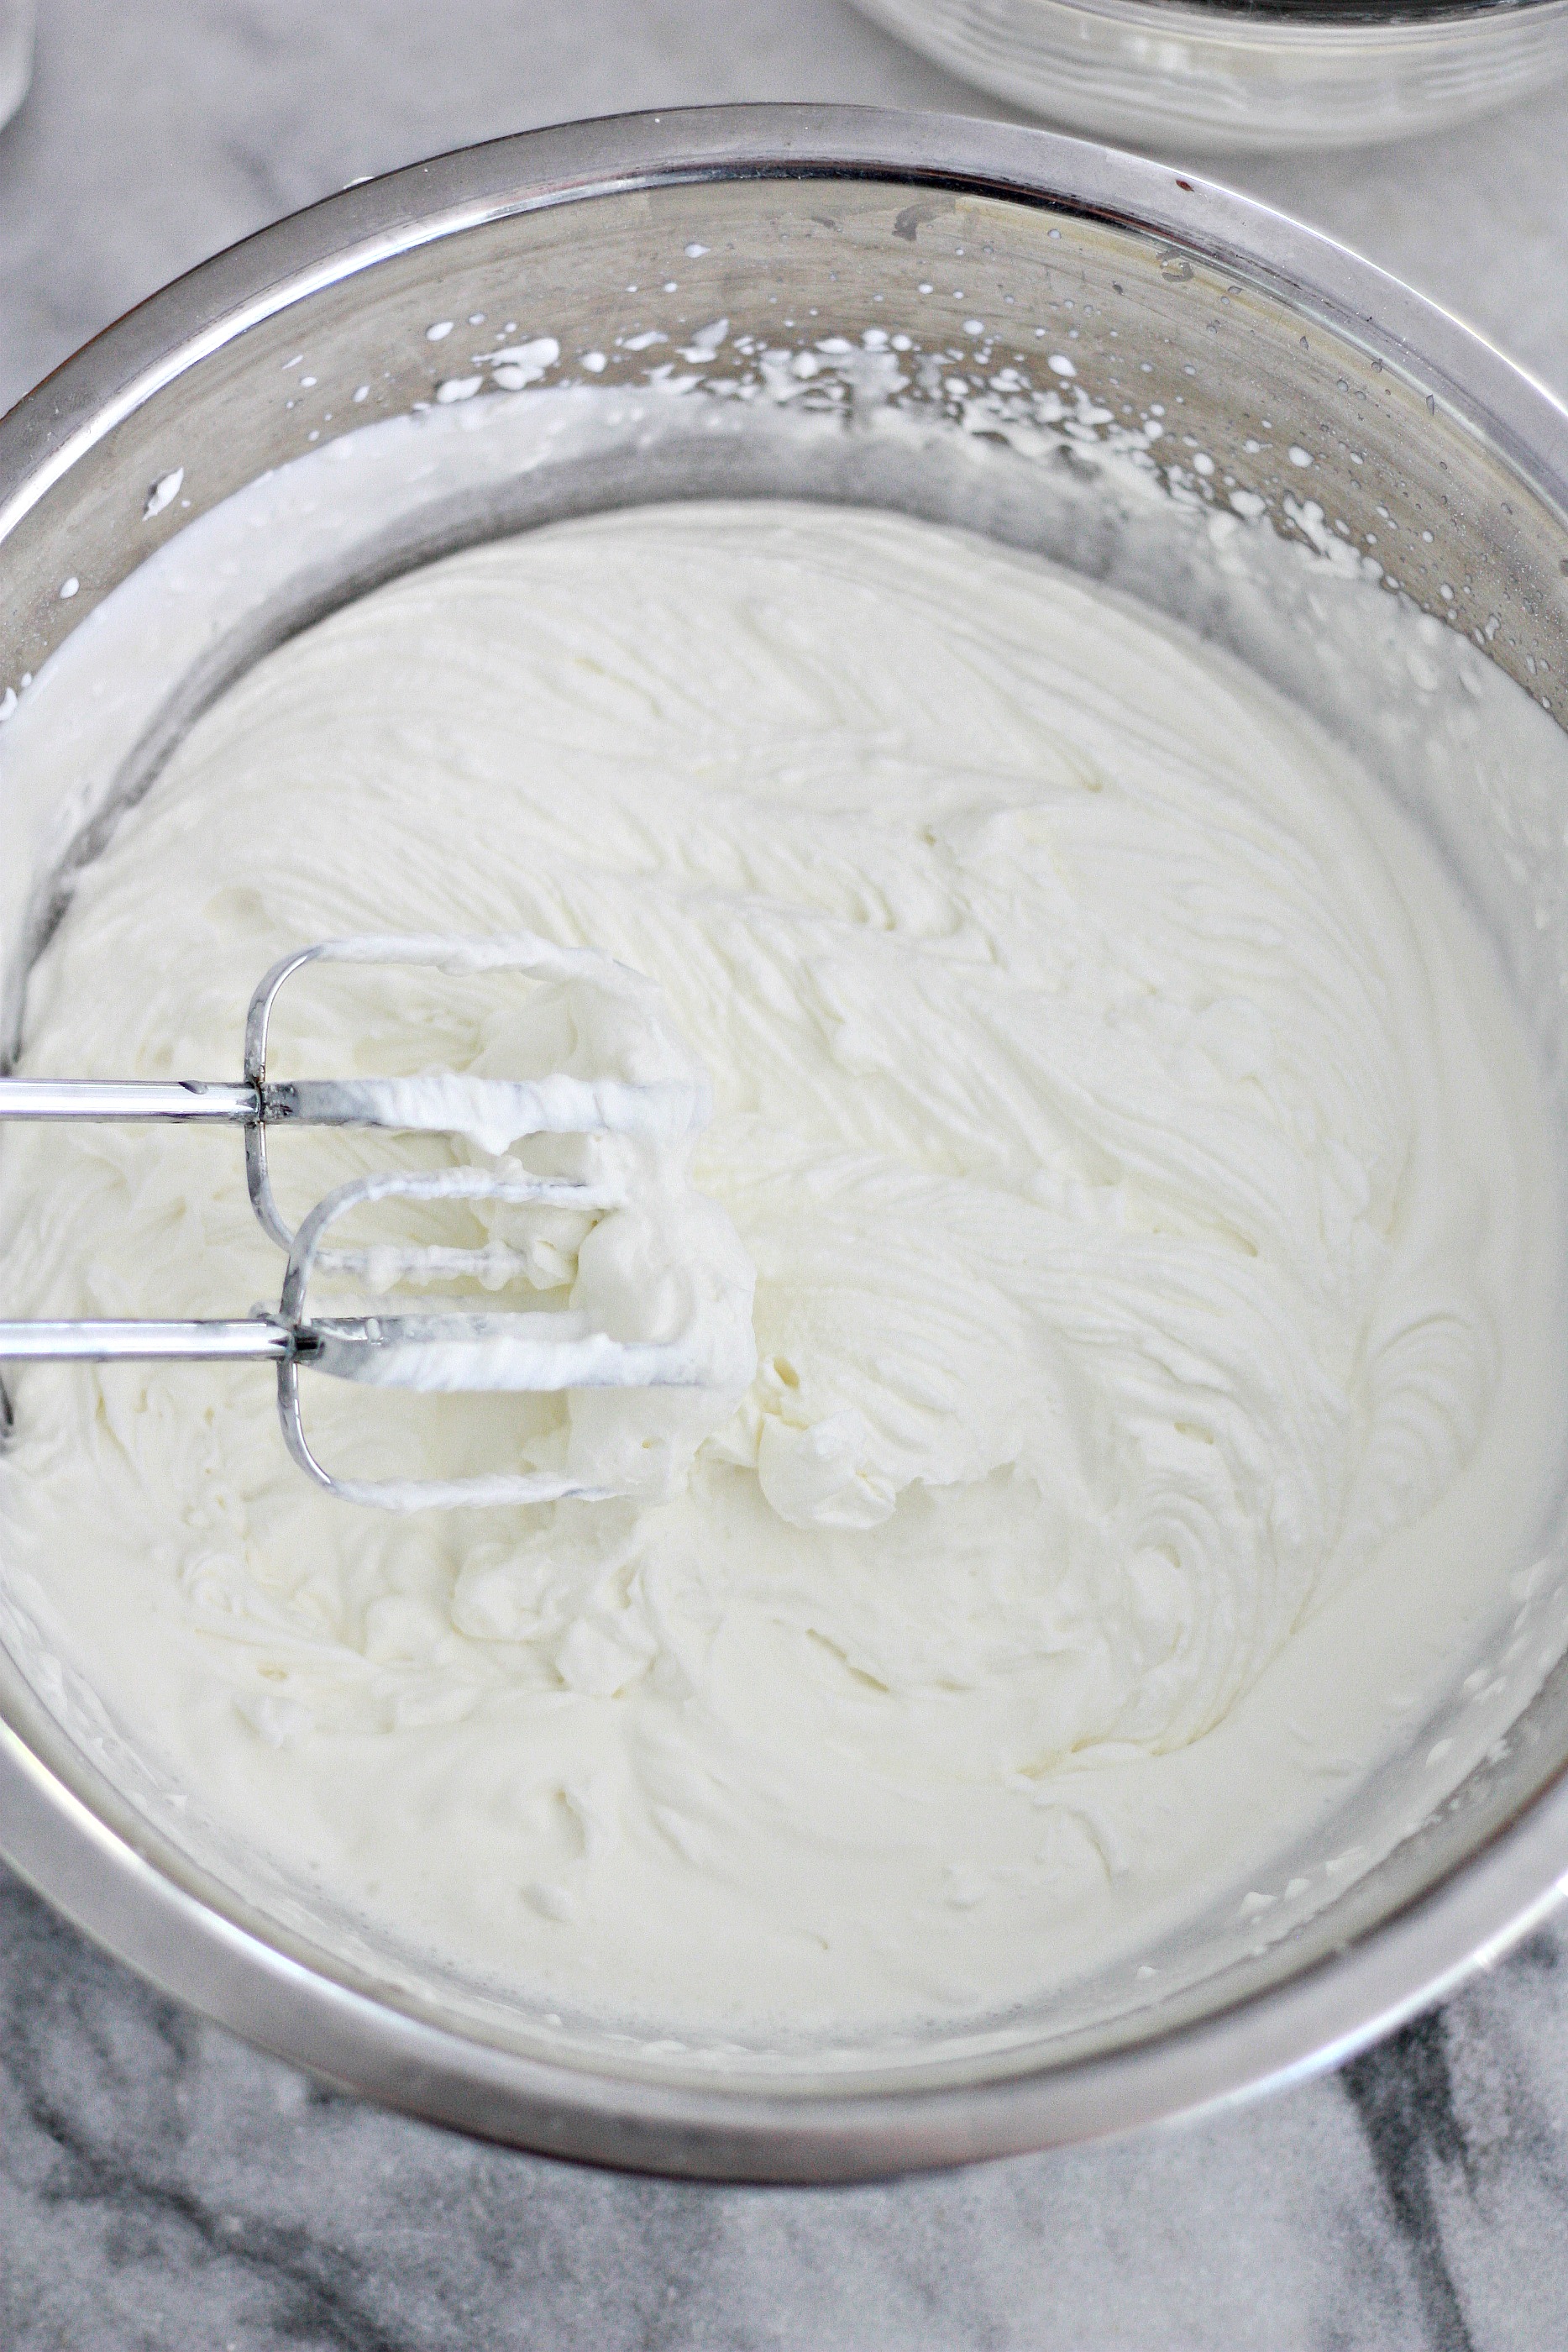
- In a large mixing bowl, beat your whipping cream & powered sugar on high until soft peak appear
- In another mixing bowl, mix your cream cheese and vanilla together.
- Gently fold in your cream cheese mixture into your whipping cream until both mixtures are folded in well.
- In a large clear cookie jar start adding your layers.
- Begin with a layer of cake.
- Add a layer of cherry pie filling
- Drizzle your cherry liqueur over the pie filling (be sure it has cooled - temperature wise)
- Spread a layer of your whipping cream cheese topping
- and REPEAT all the layers until you're at the top of your jar.
- Serve immediately or store in your fridge until you are ready to serve.
As always, I think this cake is even better the next day. The flavors have had time to get to know each other, and it’s like a big Black Forest party in your mouth. All that to say, is that you can make this Black Forest Cake in a jar a day ahead of time. Don’t you just love that? I know I do! As the saying goes, the older it is, the better it is.
You may also like:
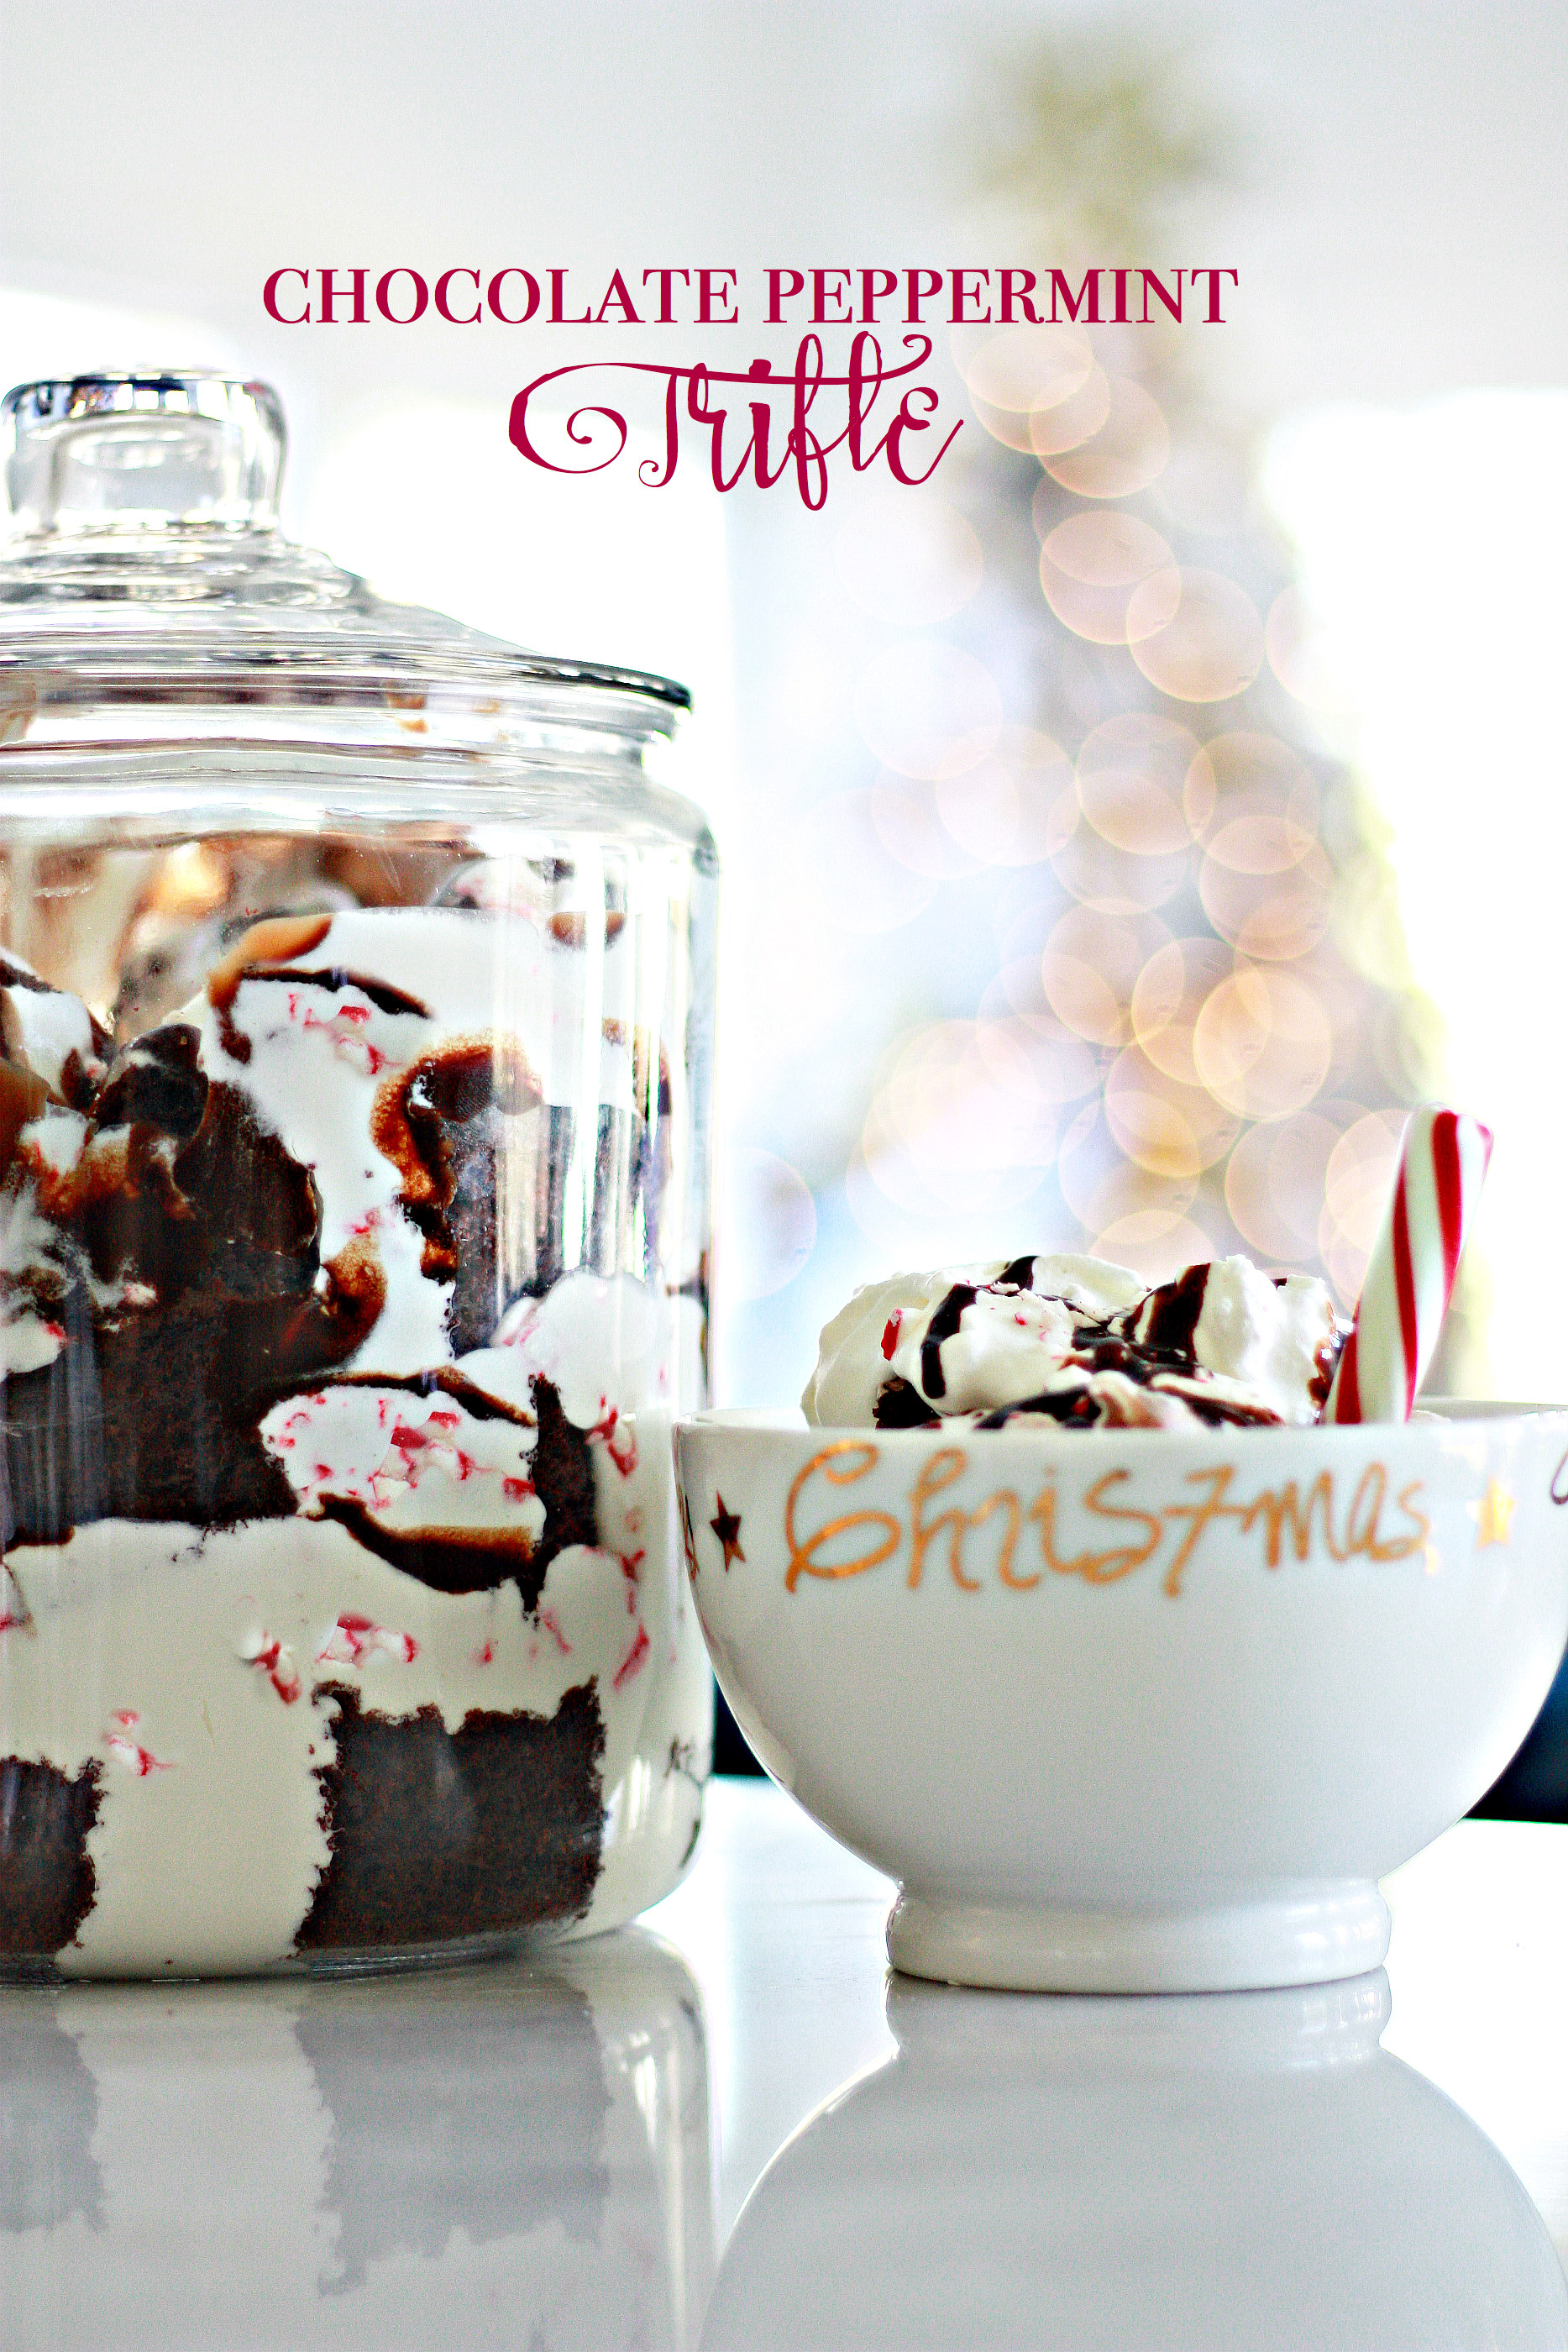
Chocolate Peppermint Trifle in a Jar
*this post contains affiliate links*